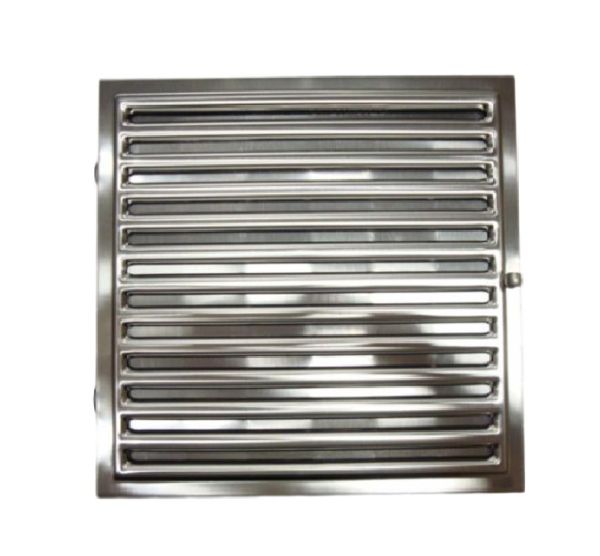
Whirlpool WPW10252087 Range Hood Grease Filter
Special Price
$206.07
Regular Price
$256.74
In stock
Available Quantity:
16
SKU
WPW10252087
Product Description
The Whirlpool WPW10252087 Range Hood Grease Filter designed to effectively filter grease, smoke, and airborne particles in the kitchen. It function by filtering out contaminants as air flows through the material of the filter, avoiding accumulation within ventilation system. Constructed for durable, the filter enhance the airflow while eliminating the smell and enhancing efficiency. This basic part is easy to use and does not require much maintenance; it improve air circulation in the kitchen and prevents the buildup of grease on surfaces.
Manufacturer

✓ This Product Replaces:
8189594, 8189594A, W10252087