The store will not work correctly in the case when cookies are disabled.
We collect user information to provide a better user experience and protect the security of our website. By continuing to use our website, you acknowledge the use of cookies.
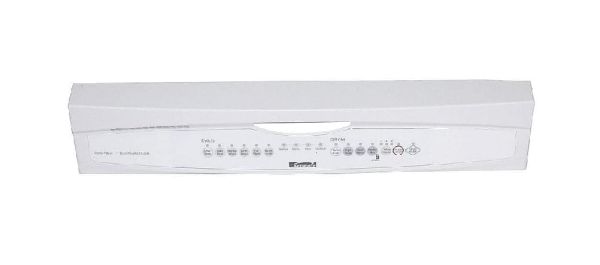
The Whirlpool WPW10243210 Dishwasher Control Panel is your dishwasher's control center, holding the selecting buttons and digital display. This automated panel allows you to select wash cycles, change settings such as water temperature and sanitization options, and monitor the dishwasher's status throughout the cleaning process. The buttons usually feature cycle selection, regular, heavy duty, delicate, start/cancel, and settings such as high heat drying or child lock. The digital display shows the cycle selected, the remaining time, and any error codes that may occur if something fails. A defective control panel can cause malfunctions such as the dishwasher not starting, running the incorrect cycle, or controls being unresponsive. Replacing a broken control panel with a genuine WPW10243210 can restore your dishwasher's functioning and allow you to conveniently select cycles and monitor the progress for sparkling clean dishes.
What maintenance is required for the Whirlpool WPW10243210 Control Panel?
Regularly wipe the control panel with a soft, damp cloth to remove grease and residue. Avoid using chemicals that may damage the surface or buttons. Ensure the panel stays dry to prevent electrical issues. Periodically check for unresponsive buttons or loose connections.
What are common issues with the Whirlpool WPW10243210 Control Panel?
Unresponsive or stuck buttons.
Display not lighting up or flickering.
Incorrect cycle selection or failure to start.
Intermittent power or communication errors.
Control panel not responding to user inputs.
Installation Steps
Step1: Disconnect dishwasher from power and shut off water supply for safety.
Step2: Remove inner door panel screws and carefully open control panel housing.
Step3: Disconnect ribbon cable and wiring harness from old control panel, noting positions.
Step4: Install new control panel, reconnect wires, secure screws, and ensure alignment.
Step5: Reassemble door, restore power and water, then test cycle for proper operation.