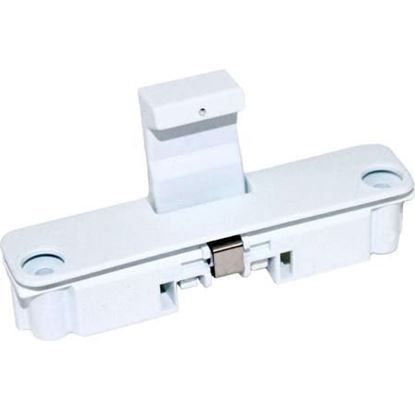
Whirlpool WPW10240513 Washer Striker
Special Price
$16.65
Regular Price
$26.62
In stock
Available Quantity:
309
SKU
WPW10240513
Product Description
The Whirlpool WPW10240513 Washing Machine Striker, also known as a lid latch strike, is a little but essential component of your washing machine. The lid latch employs a metal component on the washer's inner frame to keep the lid closed during wash cycles. When you close the lid and hear a click, it indicates that the latch has engaged with the striker. This ensures that the washer does not start with the lid open, preventing leaks and safety issues. A worn-out or damaged striker may cause the latch to fail, resulting in a washer that does not start, leaks water, or makes loud banging noises while running. Replacing a damaged striker is a simple repair that restores your washer's operation.
Manufacturer

✓ This Product Replaces:
W10240513