
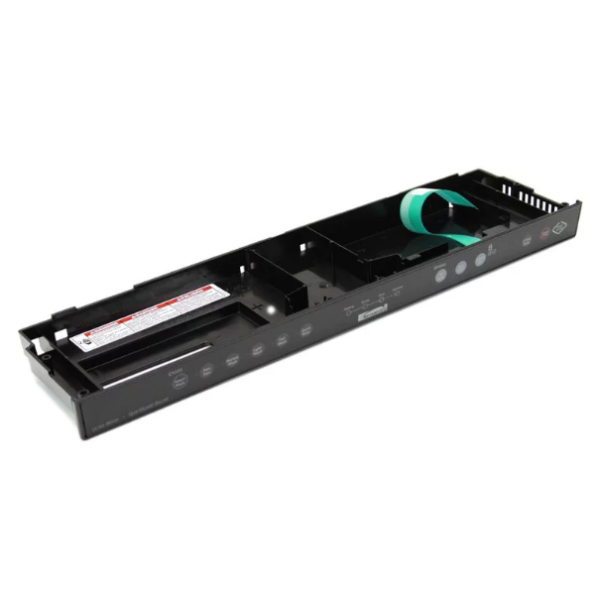
Whirlpool WPW10205855 Dishwasher Control Panel

Special Price $168.87 Regular Price $185.95
In stock
Available Quantity:   7
SKU
WPW10205855

Product Description

The Whirlpool WPW10205855 Control Panel is used for selecting cycles, setting up parameters, and observing the work in progress with the help of a convenient UI. This panel transmits the inputs to the board to enable the selected wash programs to be executed correctly. A responsive touchpad and a clear screen, make the operation of the system quite simple and increase the durability.
Manufacturer

✓ This Product Replaces: W10205855
Manufacturer Name: WHIRLPOOL
Product Number: WPW10205855
OEM Part Number: WPW10205855
Product Description: Panel-Cntl

Choose the best Home Appliance parts and supplies from HnKParts!

  • Same Day Shipping

  • Best Quality And Best Price

  • Wide Range of Inventory

  • Best Customer Service

Have More Questions or Need Help to Place The Order?
Reach us at (866)723-0907 or [email protected]

Write Your Own Review
You're reviewing:Whirlpool WPW10205855 Dishwasher Control Panel
Your Rating
Customer Questions
What maintenance is required for the Whirlpool WPW10205855 Control Panel?

Keep the dishwasher control panel clean by gently wiping it with a soft, damp cloth to remove residue and fingerprints. Avoid harsh cleaners that may damage the surface or lettering. Ensure the panel stays dry to prevent moisture from affecting internal electronics. Always disconnect power before servicing.

What are common issues with the Whirlpool WPW10205855 Control Panel?

  • Unresponsive or delayed button inputs during cycle selection.
  • Faded or non-illuminating indicator lights on the panel.
  • Error codes displayed due to internal circuit faults.
  • Intermittent operation caused by loose electrical connections.

Installation Steps

Step1: Turn off dishwasher power at the breaker to avoid electrical shock.

Step2: Open the dishwasher door and remove screws securing the inner door panel.

Step3: Carefully separate the panel to access the control panel assembly.

Step4: Disconnect wiring harnesses from the old control panel.

Step5: Attach connectors to the new control panel securely.

Step6: Position and fasten the new panel in place.

Step7: Reassemble the door and restore power to test functionality.