The store will not work correctly in the case when cookies are disabled.
We collect user information to provide a better user experience and protect the security of our website. By continuing to use our website, you acknowledge the use of cookies.
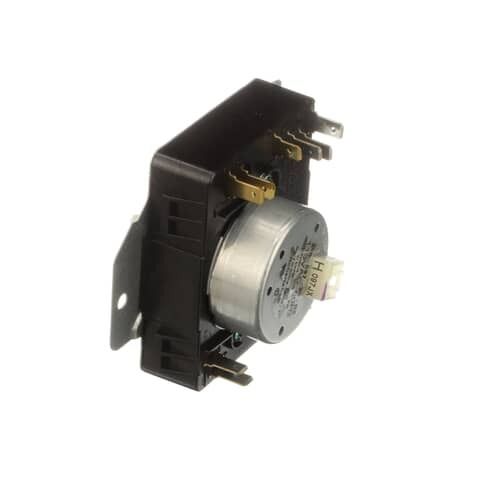
The Whirlpool WPW10186032 Dryer Timer Controller precisely controls the dryer's cycles by advancing through timed intervals. The controller utilizes a small motor to rotate a cam, which then activates or deactivates electrical contacts. This ensures consistent drying cycles, preventing over-drying or under-drying of clothes. This timer provides reliable operation and maintains proper drying performance.
Step 1: The power should be disconnected from the appliance.
Step 2: The current timer should be extracted from the appliance. A screwdriver should be utilized to unscrew the mounting screws securing the timer and it should be taken out of the appliance.
Step 3: The wires linked to the current timer should be detached. Needle-nose pliers should be employed to disconnect the wires from the terminals of the existing timer.
Step 4: The wires should be trimmed. Wire cutters should be used to sever the wires that run from the appliance to the timer.
Step 5: The insulation should be removed from the wires. With wire strippers, about one inch should be stripped from the tip of each wire.
Step 6: The new timer should be attached. The stripped wires should be placed into the correct terminals on the new timer and the screws should be secured using a screwdriver.
Step 7: The new timer should be installed. The new timer should be positioned inside the appliance and it should be fastened with the screws that were taken out in step 2.
Step 8: The power should be reconnected. The circuit breaker should be switched back on to restore power to the appliance.
Please remember, these instructions serve as general guidance and should always be utilized alongside the manufacturer's manual, if accessible.