This Part Fits the Following Models (70)
Whirlpool Dryer Timer Assembly WPW10185982
The 
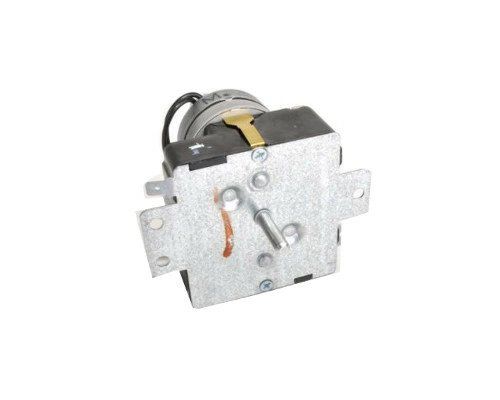
Whirlpool WPW10185982 Dryer Timer Assembly is a crucial component of your dryer, ensuring precise and efficient operation. This genuine Whirlpool part is designed to replace a worn or malfunctioning timer, restoring your dryer's functionality and performance. Designed to meet or exceed original equipment specifications, the Dryer Timer Assembly is built to last. Its durable construction ensures long-lasting performance. The Dryer Timer Assembly features a user-friendly design, making it easy to set and adjust the drying cycle. Its intuitive controls allow you to select the desired drying time with ease, ensuring that your clothes are dried to perfection every time.
Key Features for Whirlpool Dryer Timer Assembly WPW10185982:
-
Authentic Whirlpool components made to last and be dependable
-
Simple to set up and appropriate for a range of Whirlpool dryer models
-
Precisely regulates drying time for best effects
-
Operating energy efficiently reduces utility costs.
Installation Steps
Step 2: The back panel should be taken off and the timer control should be identified, typically situated near the upper section of the panel.
Step 3: The mounting screws holding the timer in place should be extracted with a Phillips-head screwdriver. The timer should be gently pulled out, with observation of how the wires are attached, as this configuration will need to be duplicated during the installation of the replacement timer.
Step 4: The current timer should be disconnected from the electrical outlet. This chance should be used to clean the area behind the timer control.
Step 5: The new timer should be placed in the same position as the one that was removed and the mounting holes should be aligned accordingly.
Step 6: The timer should be fastened with the Phillips-head screwdriver and the wiring should be connected by mirroring the setup of the previous timer.
Step 7: The new timer should be inserted into the electrical outlet and the back panel of the appliance should be reattached.
Step 8: The appliance should be reconnected to the power supply and the timer should be adjusted to your preferences.
Please remember, these instructions serve as general guidance and should always be utilized alongside the manufacturer's manual, if it is available.
