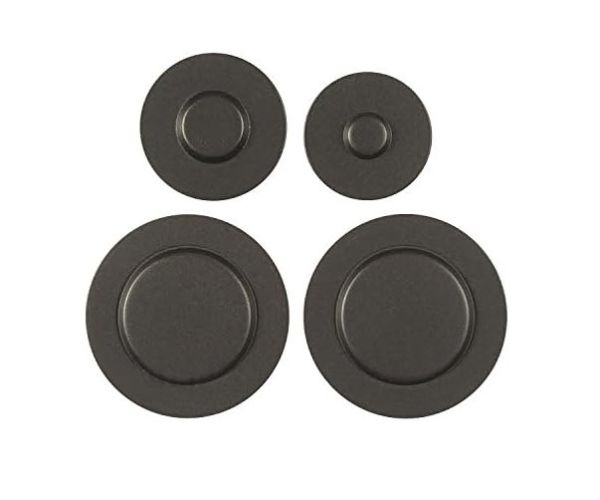
Whirlpool WPW10183375 Range Surface Burner Cap
Special Price
$89.60
Regular Price
$110.45
In stock
Available Quantity:
27
SKU
WPW10183375
Product Description
The Whirlpool WPW10183375 Range Surface Burner Cap provides an even distribution of heat to cookware for proper cooking results. It is designed to sit tightly over the burner and it assists in controlling the flame size and also shields the burner head from liquid and dirt. Made from durable materials, it endures heat and does not wear out easily. This burner cap also helps in maintaining the smoothness of the cooking top and helps in regulating the heat to achieve better cooking outcomes.
Manufacturer

✓ This Product Replaces:
W10183375