
Special Price
$76.41
Regular Price
$91.95
Out of stock
Available Quantity:
0
SKU
WPW10176138
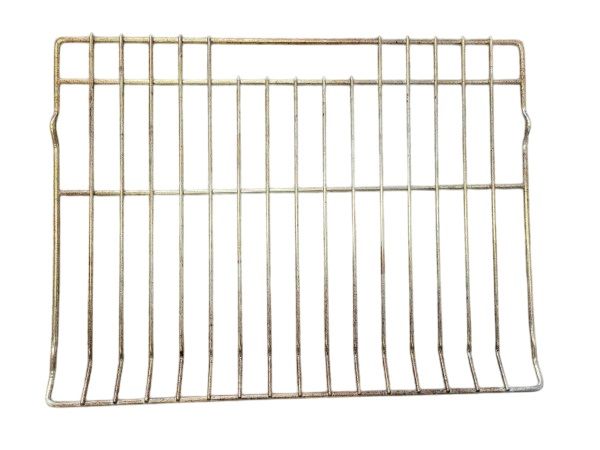
The Whirlpool WPW10176138 Range Oven Rack is a replacement part that provides a stable platform for cookware. It assists in supporting baking sheets, pans and trays by standing them at specific height levels that fit in the heating pattern of the appliance. It is located on the inner support rails and slides in and out in order to be loaded and unloaded when cooking. Its position keeps an adequate distance between the cavity to allow circulation of heat around the food that assists the oven to work.
Manufacturer

✓ This Product Replaces:
W10176138
This Part Fits the Following Models (103)
Jenn-Air JMW2430WB00 Wall Oven/Microwave Combo
Jenn-Air JMW3430WB01 Wall Oven/Microwave Combo
Jenn-Air JMW3430WB00 Wall Oven/Microwave Combo
Jenn-Air JMW3430WB02 Wall Oven/Microwave Combo
Jenn-Air JMW3430WB03 Wall Oven/Microwave Combo
Jenn-Air JMW2430WW01 Wall Oven/Microwave Combo
Jenn-Air JMW2430WW00 Wall Oven/Microwave Combo
Jenn-Air JMW2430WS03 Wall Oven/Microwave Combo
Jenn-Air JMW2430WS02 Wall Oven/Microwave Combo
Jenn-Air JMW2430WS01 Wall Oven/Microwave Combo
Jenn-Air JMW2430WS00 Wall Oven/Microwave Combo
Jenn-Air JMW3430WS00 Wall Oven/Microwave Combo
Jenn-Air JMW3430WS01 Wall Oven/Microwave Combo
Jenn-Air JMW3430WR02 Wall Oven/Microwave Combo
Jenn-Air JMW2430WB02 Wall Oven/Microwave Combo
Showing 1-15
of 103
| Manufacturer Name: WHIRLPOOL Product Number: WPW10176138 OEM Part Number: WPW10176138 Product Description: Rack-Oven |
Choose the best Home Appliance parts and supplies from HnKParts!
Same Day Shipping
Best Quality And Best Price
Wide Range of Inventory
Best Customer Service
Have More Questions or Need Help to Place The Order?
Reach us at (866)723-0907 or [email protected]
Write Your Own Review
Customer Questions
Installation Steps
Step1: Turn off the unit and allow it to cool completely to avoid burns.
Step2: Open the door fully and remove any existing racks.
Step3: Align the new rack with the desired rack support guides inside the unit.
Step4: Slide the rack evenly into the grooves until it sits securely.
Step5: Ensure the rack moves smoothly and is level before use.
