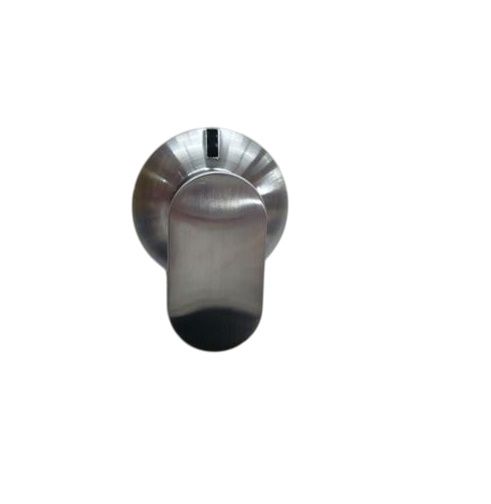
Whirlpool WPW10175695 Range Burner Knob
Special Price
$15.45
Regular Price
$17.36
In stock
Available Quantity:
164
SKU
WPW10175695
Product Description
The Whirlpool WPW10175695 Range Burner Knob helps in regulating the heat intensity by turning it to the desired position. It is designed to fit snugly on the range’s control shaft and rotates smoothly to control the heat. It is built to withstand the test of time and the measurements are clear to enable easy and precise adjustment. It is heat resistant and improves the cooking efficiency while at the same time giving a sleek look.
Manufacturer

✓ This Product Replaces:
74011532, W10175695, WP73001301