Whirlpool WPW10160235 Range Igniter Surface

Special Price $18.91 Regular Price $29.59
In stock
Available Quantity:   12
SKU
WPW10160235

Product Description

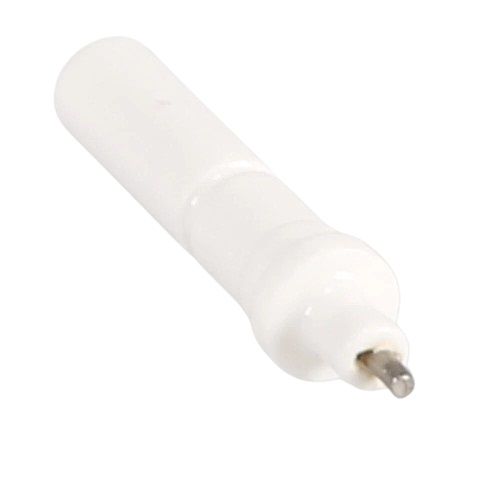
The Whirlpool WPW10160235 has become an exterior igniter intended for Whirlpool gas ranges. It's an insignificant but significant part located near the burner which serves to start the flame. When you turn the knob on your range to turn on a burner, the igniter receives an electrical current. This current produces a spark, which jumps throughout the distance that exists between the igniter and burner cap. This spark ignites the gas viewing from the burner opening, so starting the flame. A faulty igniter may lead to an array of issues with your gas range, including burners which fail to ignite, require repeated attempts to light, or generate weak flames. Upgrading an outdated igniter with the WPW10160235 ensures that your burners spark regularly, which leads to secure and effective gas range operation.

Manufacturer
✓ This Product Replaces: W10160235
https://www.hnkparts.com/media/catalog/product/w/p/wpw10160235-23082.jpg
Manufacturer Name: WHIRLPOOL
Product Number: WPW10160235
OEM Part Number: WPW10160235
Product Description: Igntr-Surf

Choose the best Home Appliance parts and supplies from HnKParts!

  • Same Day Shipping

  • Best Quality And Best Price

  • Wide Range of Inventory

  • Best Customer Service

Have More Questions or Need Help to Place The Order?
Reach us at (866)723-0907 or [email protected]

Write Your Own Review
You're reviewing:Whirlpool WPW10160235 Range Igniter Surface
Your Rating
Customer Questions
No Questions

Installation Steps

Step 1: The power should be cut off at the circuit breaker panel or the power control situated behind the oven should be switched off.

Step 2: The racks should be taken out from the oven and the oven door should be opened.

Step 3: The screws that hold the bottom panel securely should be unscrewed.

Step 4: The bottom panel should be lowered to reach the ignitor.

Step 5: The two wires linking the old ignitor to the oven should be detached.

Step 6: The mounting nuts or screws that hold the ignitor in position should be taken off.

Step 7: The new WPW10160235 ignitor should be installed and the wires along with the mounting hardware should be reconnected.

Step 8: The oven door should be closed and the racks should be replaced back in their original spots.

Step 9: The power should be turned back on and the oven functionality should be checked.

Please remember that these instructions serve as general guidance and should always be utilized alongside the manufacturer's manual, if it exists.