
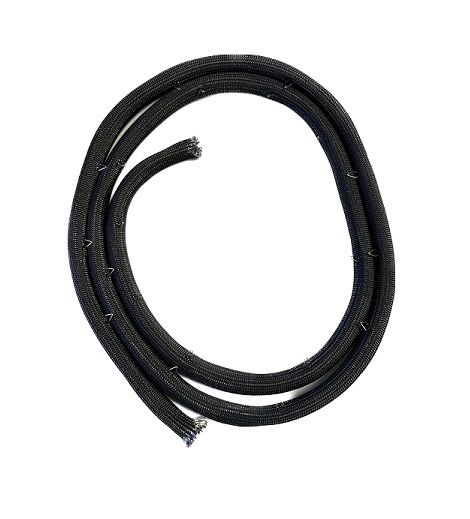
Whirlpool W11542153 Range Oven Door Gasket

Special Price $24.77 Regular Price $40.98
In stock
Available Quantity:   101
SKU
W11542153
✓ This Product Replaces: 3186152, 3195023, 8522416, W10129032, W10658354, WPW10129032, WPW10658354

Product Description

The Whirlpool W11542153 Door Gasket is used to create a seal around the door of the oven. Operate insulation to ensure that heat used in cooking does not escape hence providing the right temperatures for cooking. This gasket is designed to fit into the door of your oven so that can close tightly without allowing any air to escape and has a compact design that enhances energy use, shortens cooking time, and ensures that the food is well-cooked.
Manufacturer

https://www.hnkparts.com/media/catalog/product/w/1/w11542153-38784.jpg
Manufacturer Name: WHIRLPOOL
Product Number: WPW10129032
OEM Part Number: WPW10129032
Product Description: Gaskt-Door

Choose the best Home Appliance parts and supplies from HnKParts!

  • Same Day Shipping

  • Best Quality And Best Price

  • Wide Range of Inventory

  • Best Customer Service

Have More Questions or Need Help to Place The Order?
Reach us at (866)723-0907 or [email protected]

Write Your Own Review
You're reviewing:Whirlpool W11542153 Range Oven Door Gasket
Your Rating
Customer Questions
What maintenance is required for the Whirlpool W11542153 Door Gasket?

Inspect the gasket for cracks, warping, or gaps along the door perimeter. Clean gently to remove residue and ensure it sits evenly. Confirm that the door seals fully during operation to maintain proper oven temperature and consistent cooking.

What are common issues with the Whirlpool W11542153 Door Gasket?

  • Range heat is escaping.
  • Door not sealing properly.
  • Temperature changes inside the range.
  • Gasket edges lifting or misaligned.

Installation Steps

Step1: Ensure the oven is unplugged and completely cool.

Step2: Open the oven door and remove the old gasket by pulling it from the groove.

Step3: Clean the groove thoroughly to remove debris or residue.

Step4: Align the new gasket and press it evenly into the groove.

Step5: Check that all corners are seated properly.

Step6: Close the door and verify a snug, even fit.