Whirlpool WPW10074580 Washer Agitator Inner Cap

$11.12
In stock
Available Quantity:   225
SKU
WPW10074580

Product Description

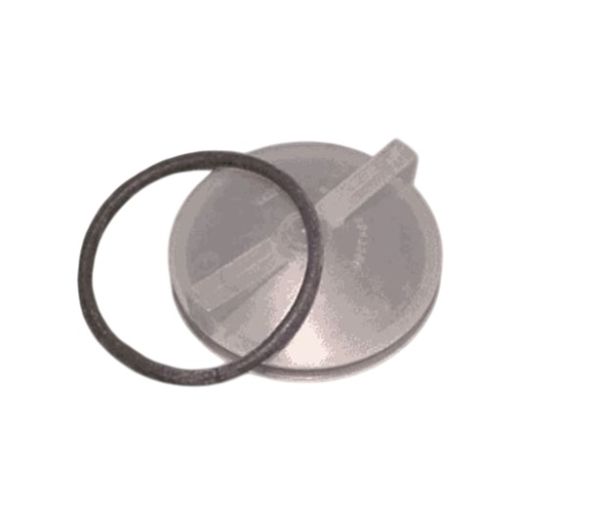
The Whirlpool WPW10074580 is an essential component of your washing machine, serving as an agitator inner cap. This cap is placed on top of the agitator, the central post within the washer drum that helps churn clothes during the wash cycle. The inner cap is vital in safeguarding the agitator's internal mechanisms. This achieves this by forming a barrier that keeps clothes, debris, and detergent from entering the agitator's delicate inner workings. Additionally, the cap frequently has an O-ring seal, which increases this protective role by preventing leaks within the agitator. The WPW10074580 cap guarantees that the agitator operates at its best by protecting its interior components. This results in a more effective washing process, as the agitation properly lightens your clothes, leading to cleaner laundry.

Manufacturer
✓ This Product Replaces: 285551, 3347290, 3354733, W10074580
https://www.hnkparts.com/media/catalog/product/w/p/wpw10074580-24930.jpg

This Part Fits the Following Models (1145)

Roper 7RAX5133AL0 Washer Roper RAS8445KQ0 Washer Roper RAS8333RQ3 Washer Roper RAS8445JQ0 Washer Roper RAS8333PQ1 Washer Roper RAS8333RQ0 Washer Roper RAS8333RQ1 Washer Roper RAX7244EQ0 Washer Roper RAX6144EQ0 Washer Roper RAX6144EQ1 Washer Roper RAX5133AW0 Washer Roper RAS8333PQ0 Washer Roper RAS8245EW0 Washer Roper RAS8245EW1 Washer Roper RAS8245EN0 Washer
Showing 1-15 of 1145
Manufacturer Name: WHIRLPOOL
Product Number: WPW10074580
OEM Part Number: WPW10074580
Product Description: Cap

Choose the best Home Appliance parts and supplies from HnKParts!

  • Same Day Shipping

  • Best Quality And Best Price

  • Wide Range of Inventory

  • Best Customer Service

Have More Questions or Need Help to Place The Order?
Reach us at (866)723-0907 or [email protected]

Write Your Own Review
You're reviewing:Whirlpool WPW10074580 Washer Agitator Inner Cap
Your Rating
Customer Questions
No Questions

Installation Steps

Step 1: The washing machine must be disconnected from the electrical outlet and the water supply valve must be shut off.

Step 2: The cap must be extracted from the center of the agitator by leveraging the lid with a flat head screwdriver.

Step 3: The splines situated at the center of the agitator must be examined for any damage or indications of wear. Should the splines appear aged, they must also be replaced prior to the new cap being installed.

Step 4: The old agitator cap must be removed from the machine and compared with the new one that was acquired to verify it matches in size.

Step 5: The new cap must be inserted into the center of the agitator, ensuring that the splines are aligned correctly with the shaft.

Step 6: The cap must be fastened by pressing down on the lid firmly until it clicks into position.

Step 7: The water lines must be reconnected and the washing machine must be plugged back into the power source.

Step 8: The machine must be operated to confirm that the cap is securely fitted and the agitator is functioning correctly.

Please note, these guidelines serve as general advice and should always be utilized alongside the manufacturer's manual, if one is accessible.