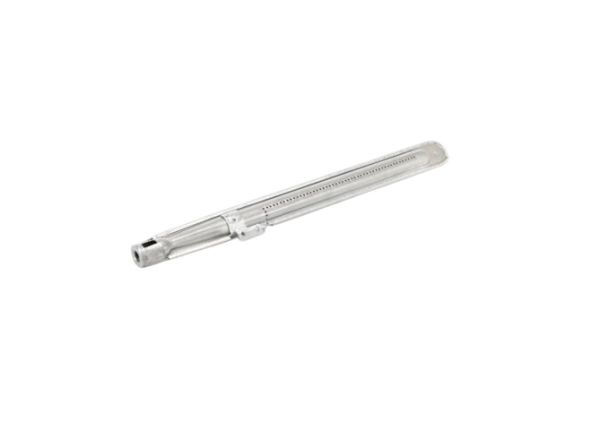
The Whirlpool WP98012138 Range Oven Burner is used to cook in the oven of the appliance. It operates by forcing gas through the burner ports, where it burns to provide a controlled flame heating the oven evenly. The burner is fitted in the oven compartment and is firmly fixed to support the gas supply and ignition system so that there is uniform heat distribution, safe operation, and dependable performance in the normal baking and roasting.
Step 1: The oven should be disconnected. It is crucial for the oven to be disconnected prior to initiating any repairs or replacements to prevent potential electrical hazards.
Step 2: The current base should be taken off. The fasteners securing the current base should be unscrewed. Afterward, the base should be gently pulled away to reveal the burner.
Step 3: The wiring should be detached. The burner is connected to the oven wiring through the terminal block and a pair of wires. The wires should be detached at the terminal block by loosening the screws and carefully pulling the wires from the burner.
Step 4: The new burner should be installed. The new burner should be aligned and placed into position. The wiring should be secured by tightening the terminals to ensure a proper connection.
Step 5: The base should be reinstalled. The base should be reattached with the screws and tightened until secure.
Step 6: The burner should be verified. The oven should be plugged back in and the new burner should be checked to confirm it operates correctly.
Please remember, these instructions serve as general guidance and should always be referenced alongside the manufacturer's manual, if accessible.