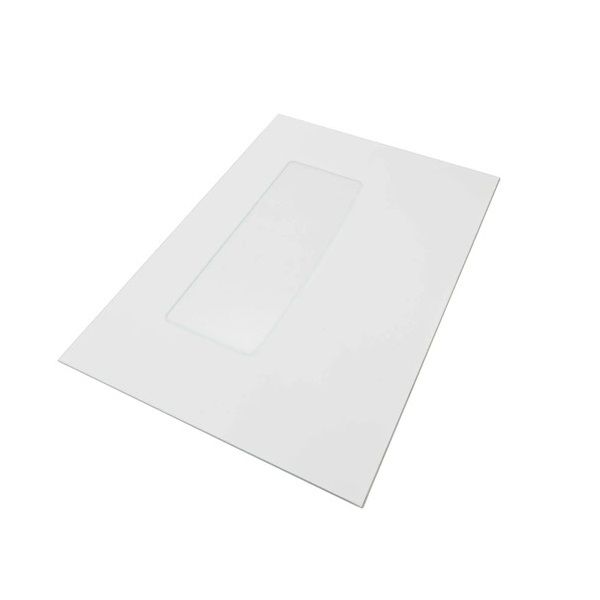
Whirlpool WP9762476 Range Oven Outer Door Glass
Special Price
$122.45
Regular Price
$137.95
In stock
Available Quantity:
20
SKU
WP9762476
Product Description
The Whirlpool WP9762476 Range Oven Outer Door Glass is an outer layer that helps in maintaining heat and also in preventing burns when operating the oven. It is made to be heat resistant and serve as a barrier between the internal and external environment, minimizing heat transfer and improving energy conservation. The glass used in the construction of the container is tempered to ensure that it does not crack or break when exposed to high or low temperatures.
Manufacturer

✓ This Product Replaces:
3196809, 8053481, 9762476