Whirlpool WP8577376 Washer Transmission Shaft Seal
$5.38
In stock
Available Quantity:
203
SKU
WP8577376
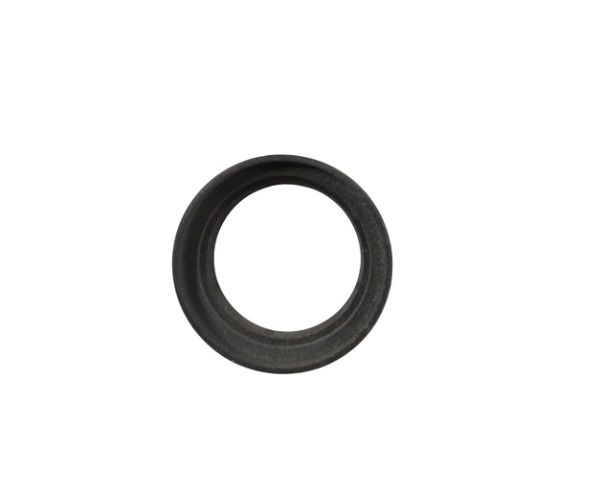
Product Description
The Whirlpool WP8577376 Washer Shaft Seal help to avoid water leakage by providing a barrier between the tub and the transmission shaft. It operates by creating a tight fit around the shaft to avoid moisture infiltration to the sensitive parts. Constructed from quality materials, it resistant to water and can handle high speed of rotation for a long time. This seal minimize wear of the internal parts, enhancing its functionality. The washing system remain dry and protected from various conditions that may affect its performance and durability.
Manufacturer

✓ This Product Replaces:
356934, 91938, LP631, 99404, 8577376, WP91938