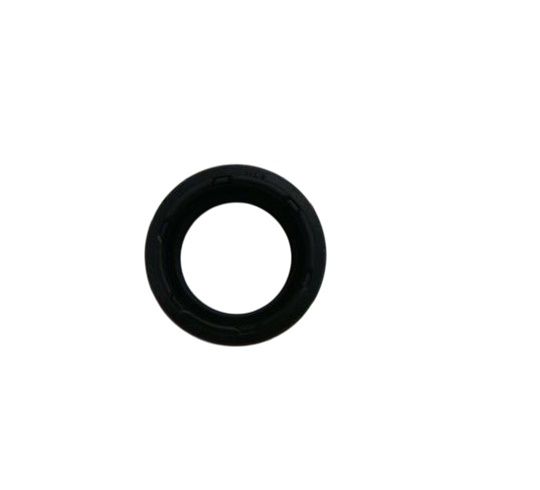
Whirlpool WP8577374 Washer Shaft Seal
$5.50
In stock
Available Quantity:
83
SKU
WP8577374
Product Description
The Whirlpool WP8577374 washer seal shaft is specially designed to prevent leaks and ensure smooth functioning of your Whirlpool washing machine. This seal, which is in the middle of the agitator shaft, serves as a barrier. It fits snugly, preventing dirt and water from getting inside the agitator, which is what rotates the clothing and water during the washing cycle. Leaks might result from a worn-out or defective seal shaft, wasting water and possibly damaging your washer or the floor around. Furthermore, if the seal is damaged, debris may be able to enter the agitator, which could impair its functionality and lower the quality of the wash overall
Manufacturer

✓ This Product Replaces:
8577374