The Whirlpool WP8577356 is a genuine replacement timer made particularly for Whirlpool top load washing machines. This critical component serves as the electrical system of your washer, directing the entire wash cycle sequence. This controls when the washer fills with water, how long it agitates and rinses clothes, and the timing of the spin cycle. If your washing machine is not correctly advancing through its cycles, a broken timer could be the cause. Replacing the timer with the WP8577356 restores correct operation and allows your washer to clean your clothing more efficiently. While replacing the timer necessitates disassembling the appliance and using simple tools, the advantages of a working wash timer are clear.
Step 1: The appliance should be disconnected from the electrical source or the power should be switched off at the breaker panel.
Step 2: The front control panel or access panel should be taken off. The installation manual for your particular model should be consulted regarding the location of the access panel or the manufacturer's website should be visited for details.
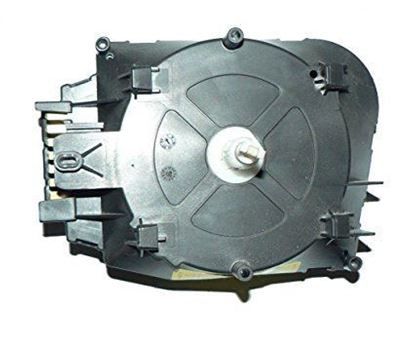
Step 3: The timer should be identified and detached. It is usually positioned at the rear of the appliance close to the controls.
Step 4: The timer knob should be taken off from the front of the timer. The knob should be raised straight up and off the timer shaft, with a flat-head screwdriver utilized to assist if required.
Step 5: The screws securing the timer should be unscrewed. Depending on your model, a screwdriver or nut driver may be necessary.
Step 6: The old timer should be extracted from the appliance manually.
Step 7: The new timer should be placed into the appliance and fastened with the screws that were removed from the previous timer.
Step 8: The timer knob should be reattached and the access panel should be put back together.
Step 9: The appliance should be reconnected to the power source or the breaker should be reactivated.
Step 10: The timer's functionality should be verified by adjusting it to the desired time and letting it operate.
It is important to note that these instructions should be utilized as a general reference and should always be utilized alongside the manufacturer's manual, if one is available.