The store will not work correctly in the case when cookies are disabled.
We collect user information to provide a better user experience and protect the security of our website. By continuing to use our website, you acknowledge the use of cookies.
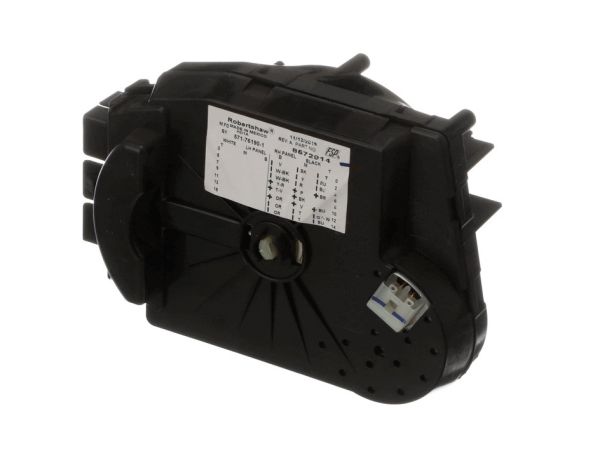
The Whirlpool WP8572914 Washer Timer is a crucial component in Whirlpool washing machines since it controls the appliance's different cycles and functions. It acts as a mechanical timer, coordinating the filling, agitating, draining, and spinning steps of a wash cycle. This timer, which is compatible with several Whirlpool models, guarantees accurate timing and transitions between the various washing processes. The WP8572914 Washer Timer maximizes washing performance and contributes to cleaner clothes by precisely timing each cycle. Whirlpool washing machines are known for their dependable operation, which enhances their overall efficacy and efficiency while offering users hassle-free laundry care. Users can rely on their Whirlpool washer to produce reliable results with this timer, which also prolongs the appliance's durability.
What maintenance is required for the Whirlpool WP8572914 Timer?
Ensure the washing machine timer is free from moisture and debris, and check all electrical connections for corrosion or looseness. Avoid forcing the dial or controls. Regular inspections supports prevent malfunctions and ensure accurate cycle operation, promoting safe and accurate use.
What are common issues with the Whirlpool WP8572914 Timer?
Timer not advancing or stopping mid-cycle.
Washing machine fails to start or complete cycles.
Erratic or inconsistent timing of wash programs.
Electrical contacts burning or shorting.
Clicking or buzzing noises from the timer.
Installation Steps
Step1: Disconnect washer from power supply and shut off water valves for safety.
Step2: Remove the control panel housing to reach the timer assembly behind the cycle knob.
Step3: Label and detach all wiring connectors carefully before removing the old timer unit.
Step4: Mount the new timer in the same position and reconnect each wire securely.
Step5: Reassemble the control panel ensuring knob alignment with the timer shaft.
Step6: Restore power and run a test cycle to confirm correct timing and progression.