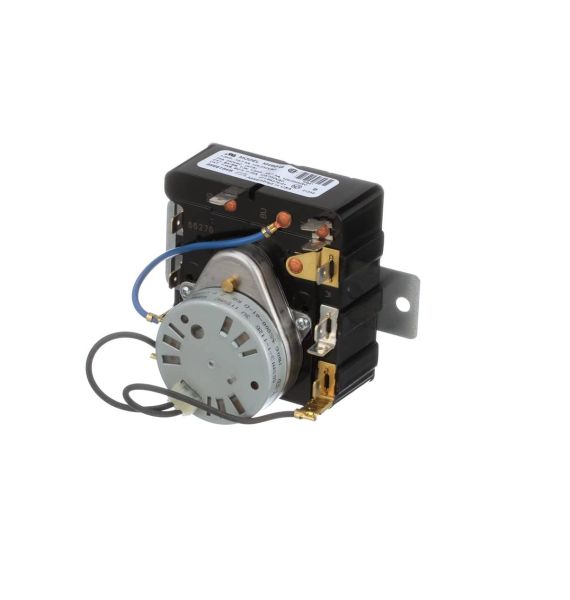
Whirlpool WP8566184 Dryer Timer 25A 250 VAC
Special Price
$150.04
Regular Price
$249.59
In stock
Available Quantity:
84
SKU
WP8566184
Product Description
The Whirlpool WP8566184 Dryer Timer ensures precise drying cycles by controlling the duration of each phase. It advances through the cycle by activating and deactivating heating and tumbling functions. The timer’s internal motor and electrical contacts work together to regulate drying time accurately. This component helps prevent over-drying, reducing energy consumption and fabric wear. Reliable performance and easy installation make it a practical replacement for restoring proper dryer operation.
Manufacturer

✓ This Product Replaces:
8566184