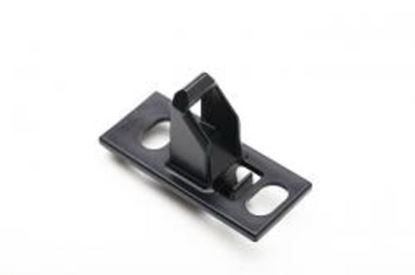
Whirlpool WP8540221 Washer Door Strike
Special Price
$6.20
Regular Price
$7.91
In stock
Available Quantity:
367
SKU
WP8540221
Product Description
The Whirlpool WP8540221 Door Strike is used to ensure the correct position of the washer door, and serves to lock the door in position when the washer is in operation to avoid water spillage and interruption during washing. The door strike engages the washer’s latch and the door switch so that the washer operates efficiently. Replacing a door strike can also done to enhance the efficiency of the washer in terms of safety and to avoid frequent breakdowns.
Manufacturer

✓ This Product Replaces:
8540221, W10111148