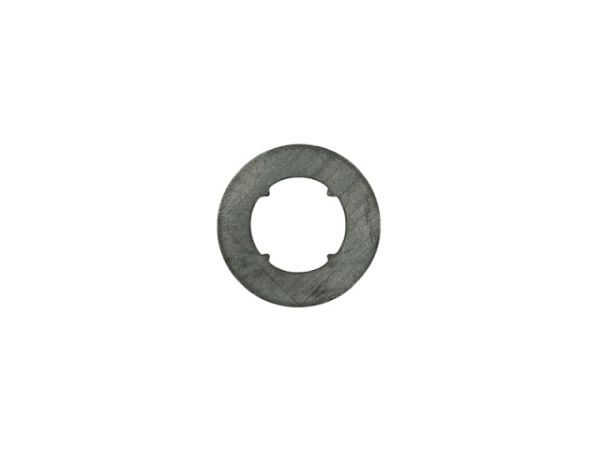
Whirlpool WP8531743 Dishwasher Float Switch Base Gasket
$25.01
In stock
Available Quantity:
76
SKU
WP8531743
Product Description
The Whirlpool WP8531743 Dishwasher Float Switch Base Gasket is essential for avoiding leaks in your dishwasher. It's a tiny, ring-shaped rubber element which creates a watertight seal between the float switch and the bottom of the dishwasher tub. The switch for the float detects the water level throughout the dishwasher. When the water level approaches a level that has been set, the float switch enables the dishwasher to circulate out the water. The Whirlpool WP8531743 Dishwasher Float Switch Base Gasket maintains an effective seal, keeping water from leaking out of the dishwasher and possibly harming other components nearby. A worn-out or broken gasket may cause leaks, which lead to the proliferation of mould along with other issues.
Manufacturer

✓ This Product Replaces:
4161670, 116202, 8531743