
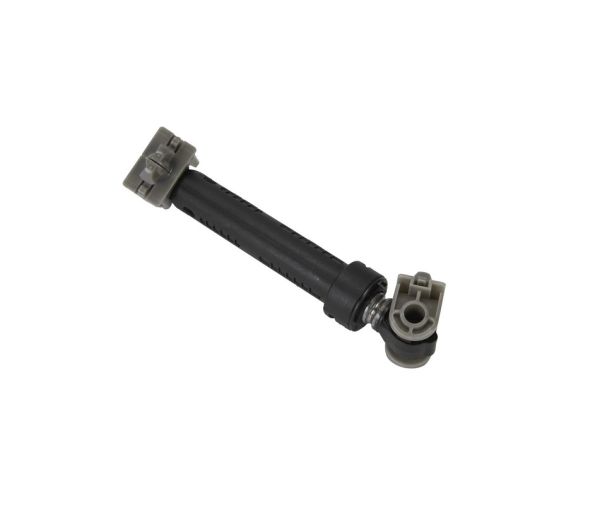
Whirlpool WP8182703 Washer Shock Absorber

Special Price $16.42 Regular Price $32.92
In stock
Available Quantity:   25
SKU
WP8182703

Product Description

The Whirlpool WP8182703 Washer Shock Absorber works to reduce movement so that the drum does not move too much during wash and spin cycles. Made of strong material, it helps to minimize shock and improve the stability of the washer. This way it ensure that the internal parts are not exposed to excessive motion which can lead to their deterioration. This replacement part enhances the functionality of the machine, decreases noise, and increases the comfort of the laundry process.
Manufacturer

✓ This Product Replaces: 8181646, 8182703
https://www.hnkparts.com/media/catalog/product/w/p/wp8182703-94848.jpg
Manufacturer Name: WHIRLPOOL
Product Number: WP8182703
OEM Part Number: WP8182703
Product Description: Shock-Absr

Choose the best Home Appliance parts and supplies from HnKParts!

  • Same Day Shipping

  • Best Quality And Best Price

  • Wide Range of Inventory

  • Best Customer Service

Have More Questions or Need Help to Place The Order?
Reach us at (866)723-0907 or [email protected]

Write Your Own Review
You're reviewing:Whirlpool WP8182703 Washer Shock Absorber
Your Rating
Customer Questions
What maintenance is required for the Whirlpool WP8182703 Shock Absorber?

Regularly inspect the washer shock absorber for signs of wear, cracks, or reduced tension. Ensure mounting points are secure and free from debris. Proper maintenance supports reduce washer vibration and noise. Always disconnect power before inspection for safety.

What are common issues with the Whirlpool WP8182703 Shock Absorber?

  • Excessive washer vibration during spin cycles.
  • Loud banging or knocking noises.
  • Reduced damping performance causing instability.
  • Visible wear, cracks, or detachment from mounting points.

Installation Steps

Step1: Unplug washer and turn off water supply before starting.

Step2: Remove rear or front access panel carefully.

Step3: Detach worn shock absorber from drum and base mounting points.

Step4: Install new shock absorber aligning bushings and secure pins.

Step5: Tighten all fasteners and ensure firm seating.

Step6: Reassemble panel and test spin cycle for stability.