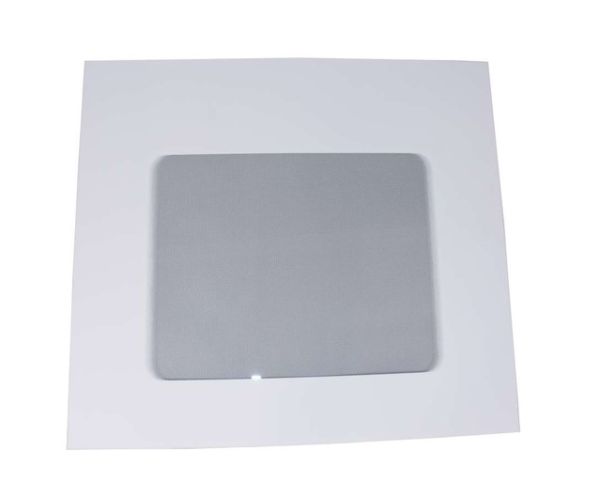
Whirlpool WP8053834 Range Exterior Door Glass
Special Price
$131.97
Regular Price
$146.95
In stock
Available Quantity:
2
SKU
WP8053834
Product Description
The Whirlpool WP8053834 is an equivalent exterior door glass intended for Whirlpool ranges. It is the outermost layer of the oven door that allows you to see your food while keeping the heat inside. This tempered glass panel can resist extremely high temperatures without shattering. Replacing a damaged or cracked external door glass is critical for safety and performance. A broken glass can jeopardize the oven's heat insulation, reducing cooking effectiveness and potentially increasing energy usage. Additionally, broken glass creates a safety risk because shattered shards could cause damage.The replacement process is relatively simple and may be accomplished at home using basic equipment such as a screwdriver.
Manufacturer

✓ This Product Replaces:
8053480, 8053834