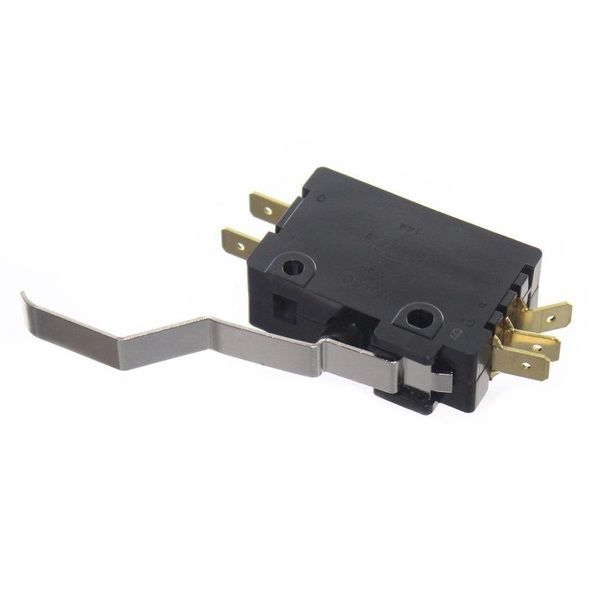
Whirlpool WP777811 Trash Compactor Directional Switch
Special Price
$45.90
Regular Price
$80.45
In stock
Available Quantity:
199
SKU
WP777811
Product Description
The Whirlpool WP777811 Trash Compactor Directional Switch ensures efficient operation by controlling the motor when the compacting ram reaches the top. It automatically interrupts the current flow, preventing over-compression and potential motor damage. This top-limit switch plays a crucial role in maintaining the proper movement of the compacting mechanism. By stopping the motor at the right moment, it enhances durability and prevents operational strain. Reliable performance and motor protection make it a key component for smooth and safe trash compactor functionality.
Manufacturer

✓ This Product Replaces:
749064, 777811, 4163405, 41001106