
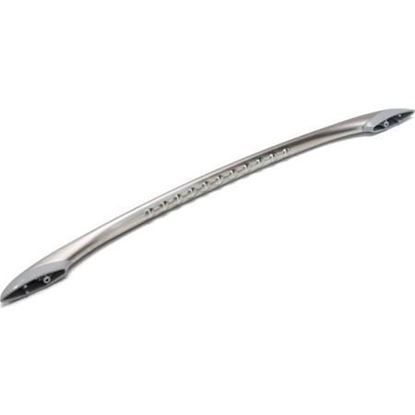
Whirlpool WP7701P526-60 Range Door Handle

Special Price $133.28 Regular Price $147.95
Out of stock
Available Quantity:   0
SKU
WP7701P526-60

Product Description

The Whirlpool WP7701P526-60 Door Handle is used to enhance the functionality and appearance of the range and, is designed to offer a secure grip for easy opening and closing of the oven door. Installation is quick and straightforward and sturdy construction, the handle ensures performance longevity and adds a sleek, modern touch to the kitchen. This improves convenience and safety by providing a comfortable way to operate the oven.
Manufacturer

✓ This Product Replaces: 74008944, 74010973, 74011771, 7701P526-60
https://www.hnkparts.com/media/catalog/product/w/p/wp7701p526-60_whirlpool_hnkparts.jpg

This Part Fits the Following Models (58)

Showing 1-15 of 58
Manufacturer Name: WHIRLPOOL
Product Number: WP7701P526-60
OEM Part Number: WP7701P526-60
Product Description: Hndle-Door

Choose the best Home Appliance parts and supplies from HnKParts!

  • Same Day Shipping

  • Best Quality And Best Price

  • Wide Range of Inventory

  • Best Customer Service

Have More Questions or Need Help to Place The Order?
Reach us at (866)723-0907 or [email protected]

Write Your Own Review
You're reviewing:Whirlpool WP7701P526-60 Range Door Handle
Your Rating
Customer Questions
What maintenance is required for the Whirlpool WP7701P526-60 Door Handle?

Wipe the handle regularly to remove residue or moisture. Test that it operates smoothly when opening and closing. Verify door latching operations properly and confirm controls or sensors detect closure accurately during all system operations.

What are common issues with the Whirlpool WP7701P526-60 Door Handle?

  • Cycle starting delayed after closure.
  • Sensors failing to detect closure.
  • Door not triggering operational modes.
  • System pausing mid-cycle due to closure detection.

Installation Steps

Step1: Disconnect the range from power for safety.

Step2: Remove the old door handle by unscrewing the mounting screws.

Step3: Inspect the door surface and clean it thoroughly.

Step4: Align the new handle with existing screw holes.

Step5: Secure it with screws, ensuring it is tight and level.

Step6: Close the door and test for proper grip and stability.