Whirlpool WP74010858 Range Spark Ignition Switch 0.10APM 120VAC

Special Price $57.99 Regular Price $96.94
In stock
Available Quantity:   15
SKU
WP74010858

Product Description

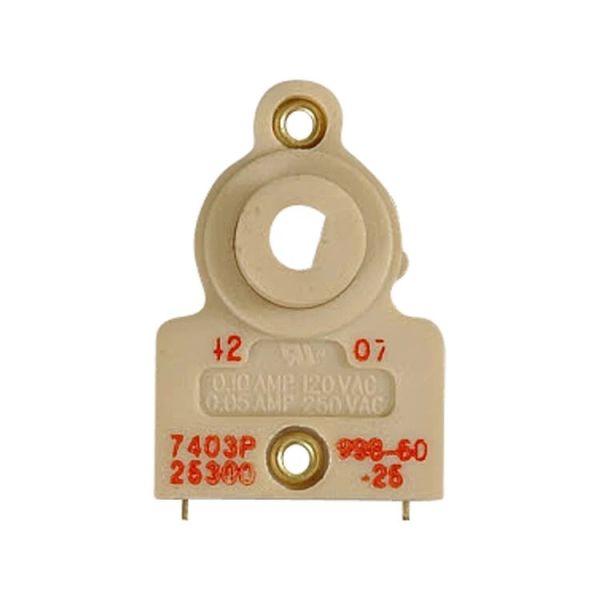
The Whirlpool WP74010858 is an integral part for igniting the gas burners on your Whirlpool range. It's a spark ignition switch that sits underneath the burner control knob. When you turn the knob, the switch sends current to the spark igniter, which is a tiny mechanism placed near the burner head. This igniter subsequently generates a spark, which ignites the gas flowing from the burner, starting the cooking process.A malfunctioning spark ignition switch might disrupt the entire process by failing to provide current to the igniter. This leads to the annoying situation when you turn the knob but the burner does not light.

Switch,
Manufacturer
✓ This Product Replaces: 74010858
https://www.hnkparts.com/media/catalog/product/w/p/wp74010858-68398.jpg
Manufacturer Name: WHIRLPOOL
Product Number: WP74010858
OEM Part Number: WP74010858
Product Description: Switch-Speed

Choose the best Home Appliance parts and supplies from HnKParts!

  • Same Day Shipping

  • Best Quality And Best Price

  • Wide Range of Inventory

  • Best Customer Service

Have More Questions or Need Help to Place The Order?
Reach us at (866)723-0907 or [email protected]

Write Your Own Review
You're reviewing:Whirlpool WP74010858 Range Spark Ignition Switch 0.10APM 120VAC
Your Rating
Customer Questions
No Questions

Installation Steps

Step 1: The washing machine should be disconnected from the electrical outlet.

Step 2: A Phillips screwdriver should be utilized to take out the screws that hold the lid.

Step 3: After the lid is removed, the switch-spin should be identified and the wires linking it to the power supply should be detached.

Step 4: A socket wrench should be used to unscrew the switch-spin and it should be extracted from the washer.

Step 5: The new switch-spin should be gently positioned into its designated space and fastened with the socket wrench.

Step 6: The wires from the power supply should be reattached to the switch-spin.

Step 7: The functionality of the new switch-spin should be verified by executing a spin cycle on the appliance.

Step 8: The lid of the washing machine should be replaced and secured by reinserting the screws.

Step 9: The washing machine should be reconnected to the power source and it should be switched on.

Please note that these instructions serve as general guidance and should always be utilized alongside the manufacturer's manual, if accessible.