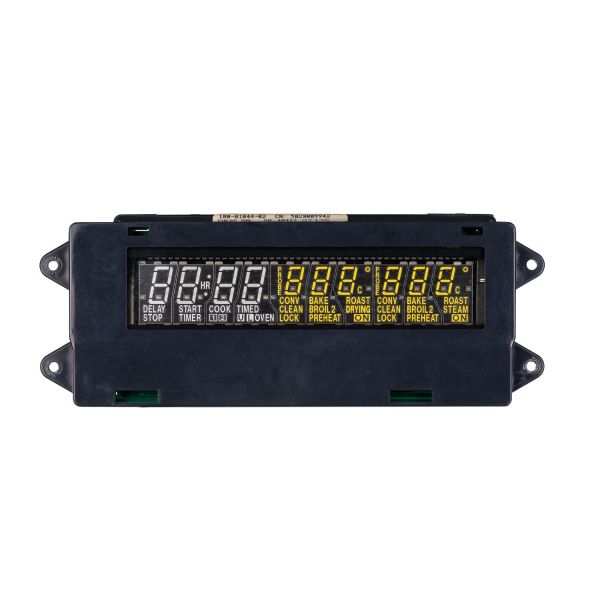
Whirlpool WP71003401 Oven Control Board
Special Price
$280.50
Regular Price
$304.95
In stock
Available Quantity:
29
SKU
WP71003401
Product Description
Whirlpool WP71003401 Electronic Control Board is designed to help ovens work efficiently and maintain the right temperature. This element serves as the of the appliances to monitor and regulate heat, cooking modes, and time in relationship with advanced electronic circuits. This effective oven control helps to achieve uniformity in cooking, avoid overheating, and ensure smooth operations of the equipment. For integration, it aids in the correction of the board to make it function properly for the baking, roasting and broiling to be efficient and uniform.
Manufacturer
