The store will not work correctly in the case when cookies are disabled.
We collect user information to provide a better user experience and protect the security of our website. By continuing to use our website, you acknowledge the use of cookies.
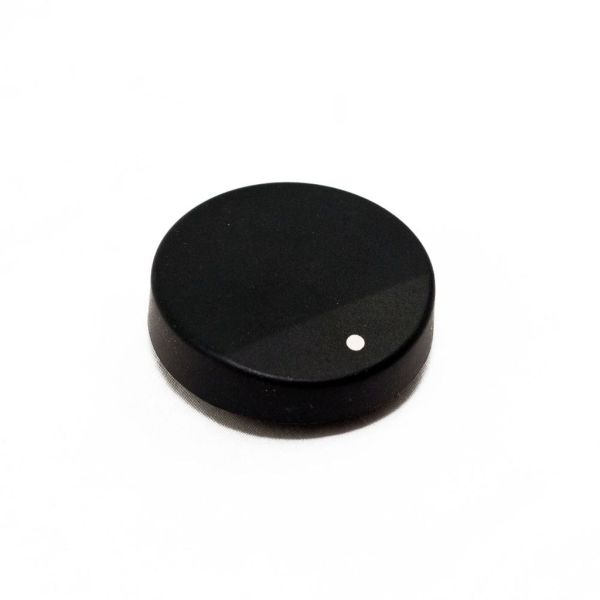
The Whirlpool WP71002372 Range Surface Burner Knob is a control component customized for your Whirlpool range.It's the knob you turn to control the burner heat level.These knobs often have marks or numbers that correspond to several heat settings, allowing you to accurately control the temperature on your cooktop. When mounted to the range's control panel, the knob provides access to the burner's internal components.As you rotate the knob, a signal is transmitted that raises or decreases the burner's heat output. A broken or malfunctioning knob might make it difficult or impossible to manage your burner settings, potentially resulting in uneven cooking or burned food.Replacing a damaged knob with the Whirlpool WP71002372 restores your ability to precisely change burner temperature, giving you more control over your cooking process.
Step 1: Collect the essential tools. Prior to commencing, it should ensure that all required tools are possessed to finish the task - a Phillips head screwdriver, a flathead screwdriver, and a pair of needle nose pliers.
Step 2: Disconnect the appliance. Before initiating any repairs on your appliance, it should be confirmed that the power is off by detaching it from the wall.
Step 3: Take out screws. The screws that are holding the knob in position should be extracted by employing the Phillips head screwdriver.
Step 4: Remove knob. The old knob should be detached from the shaft by utilizing the needle nose pliers.
Step 5: Place new knob. The new knob should be positioned onto the shaft and the screws should be fastened using the Phillips head screwdriver.
Step 6: Verify knob. The appliance should be reconnected to the wall and the new knob should be checked by turning it on and off. It should ensure that it operates correctly before proceeding to the next step.
Please remember, these instructions serve as general guidance and should always be utilized alongside the manufacturer's manual, if available.