The store will not work correctly in the case when cookies are disabled.
We collect user information to provide a better user experience and protect the security of our website. By continuing to use our website, you acknowledge the use of cookies.
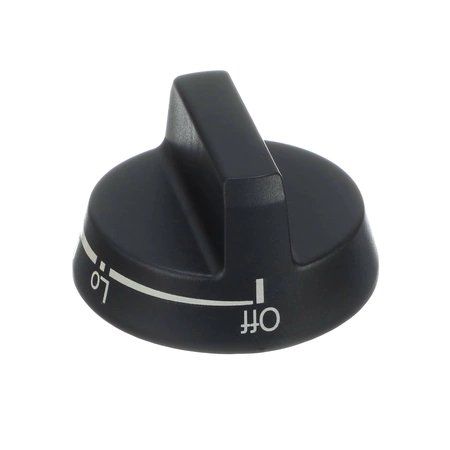
The Whirlpool WP71001057 Range Burner Valve Knob is essential for controlling your range's burners. Crafted with precision and durability, this knob ensures smooth operation and allows users to easily adjust the flame intensity. Whether you're 1simmering a delicate sauce or boiling water, this knob allows you to precisely control the heat output of your range burners. This knob is compatible with a variety of Whirlpool range models, including those used in both residential and commercial settings. It seamlessly integrates into your kitchen appliances. Its ergonomic design and simple functionality make cooking more efficient and enjoyable. This knob prevents overcooking or burning by providing precise control over the burner flames, ensuring 1that your dishes are always cooked to perfection.
Step 1: The initial action is to detach the existing knob. To accomplish this, the two screws located at the back of the knob should be taken out and subsequently, the knob should be slid off the front of the valve.
Step 2: After the old knob is removed, the new one can be positioned in its place. The knob should be slid onto the valve, ensuring that the grooves on the knob are aligned with the slots on the valve. Following this, the two screws that were previously removed can be reinserted and secured firmly.
Step 3: The final step is to confirm that the new knob operates correctly. The gas should be turned on and the knob should be checked by rotating it in both directions. If it turns smoothly, the repair has been successfully completed.
Please note, these instructions serve as general guidance and should always be referenced alongside the manufacturer's manual, if available.