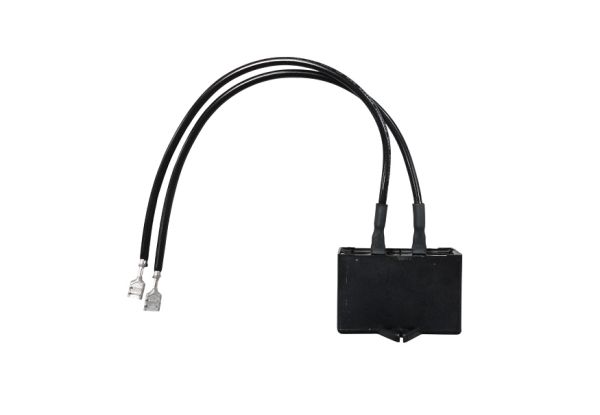
Whirlpool WP4387764 Refrigerator Run Capacitor
Special Price
$82.62
Regular Price
$128.25
In stock
Available Quantity:
2
SKU
WP4387764
Product Description
The Whirlpool WP4387764 Refrigerator Run Capacitor is used in sustained running of the compressor by normalizing the flow of electric current to the windings of the motor. It operates by storing and releasing energy to keep the torque and efficiency constant in every cycle. It is installed around the compressed area it attaches to the electrical connection by the terminal leads and attaches firmly to internal brackets.
Manufacturer

✓ This Product Replaces:
4387764