Whirlpool WP40111201 Dryer Drum Drive Belt
Special Price
$7.82
Regular Price
$25.35
In stock
Available Quantity:
1363
SKU
WP40111201
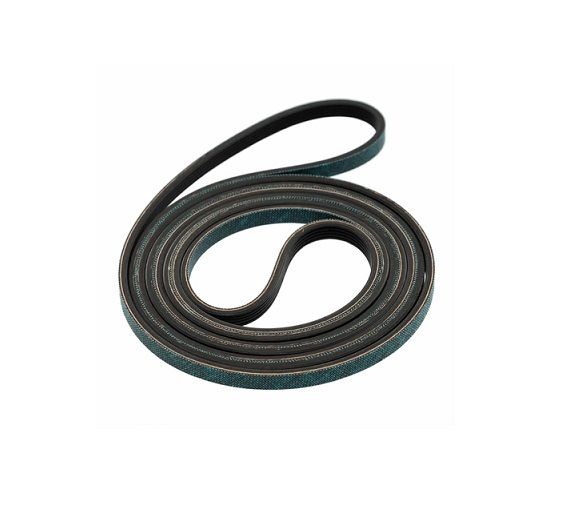
Product Description
The Whirlpool WP40111201 Dryer Drum Drive Belt ensures smooth drum rotation for efficient drying performance. This essential component connects the motor to the drum, enabling proper movement during operation. As the motor turns, the belt transfers power, allowing the drum to spin and tumble clothes evenly. Its precise fit and flexibility help maintain consistent motion, preventing disruptions in drying cycles. With proper drum rotation, clothes dry uniformly, reducing wrinkles and enhancing overall drying efficiency. A well-functioning belt supports optimal heat distribution, helping to save energy and time while ensuring garments come out dry and ready to wear. This simple-to-install part keeps the dryer running smoothly, improving drying results with each load.
Manufacturer

✓ This Product Replaces:
40051502, 40111201, R6065-49, 40051501, 510178, 59174, 40111201