The store will not work correctly in the case when cookies are disabled.
We collect user information to provide a better user experience and protect the security of our website. By continuing to use our website, you acknowledge the use of cookies.
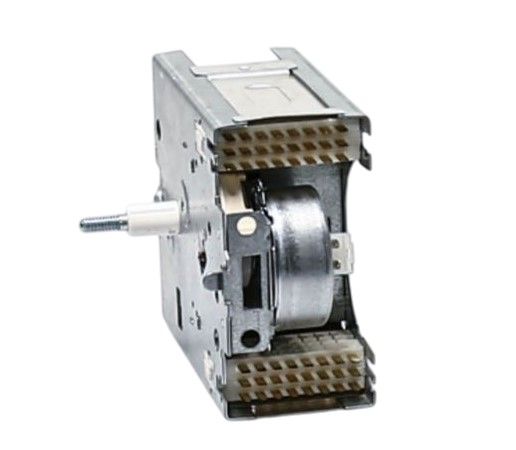
The Whirlpool WP3955734 Washing Machine Timer is an essential component that regulates the various cycles of your washing machine. It serves as the control center, coordinating the duration of each wash cycle, from filling and agitating to draining and spinning. Installed in compatible Whirlpool washing machines, this timer ensures precise timing and smooth operation, allowing for efficient and thorough laundry cleaning. Its dependable performance improves the overall functionality of your washer, resulting in consistent results with each load. The Whirlpool WP3955734 Washer Timer is durable and accurate. Replacing a faulty timer with the genuine Whirlpool WP3955734 part restores order to your laundry routine, resulting in clean clothes and efficient washing every time.
What maintenance is required for the Whirlpool WP3955734 Timer?
Regularly inspect the washer timer for signs of wear or corrosion. Ensure connections are secure and free of moisture. Avoid overloading the washer to prevent pressure. Proper care supports maintain consistent cycle operation and prevents unexpected malfunctions.
What are common issues with the Whirlpool WP3955734 Timer?
Washer cycles not advancing or stopping mid-cycle.
Timer knob difficult to turn or stuck.
Erratic or inconsistent cycle times.
Electrical contacts wearing out or failing.
Installation Steps
Step1: Unplug washer and shut off water supply to ensure safety.
Step2: Remove rear or top control panel screws and open access area.
Step3: Disconnect wiring harness from existing timer carefully noting connections.
Step4: Install new timer and firmly reconnect all terminals.
Step5: Reassemble panel, restore power and water, and run a test cycle.