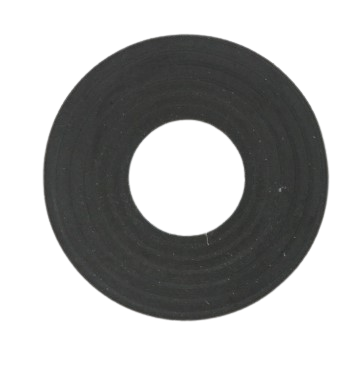
Whirlpool WP3949550 Washer Agitator Bolt
Product Description
The Whirlpool WP3949550 Washing Machine Agitator Bolt is a critical component for securing the agitator in your washing machine. This bolt, designed with precision and durability, holds the agitator firmly in place during each wash cycle, preventing any unwanted movement. 1This bolt is compatible with a wide range of Whirlpool washer models, providing a smooth and dependable washing experience. Its sturdy construction gives you peace of mind, knowing that your washer's agitator is securely fastened, reducing the risk of damage or malfunction. Whether you're washing delicate fabrics or heavy loads, this agitator bolt delivers peak performance, allowing you to enjoy cleaner clothes with each wash. The Whirlpool WP3949550 Washer Agitator Bolt improves the stability and efficiency of your washer.
