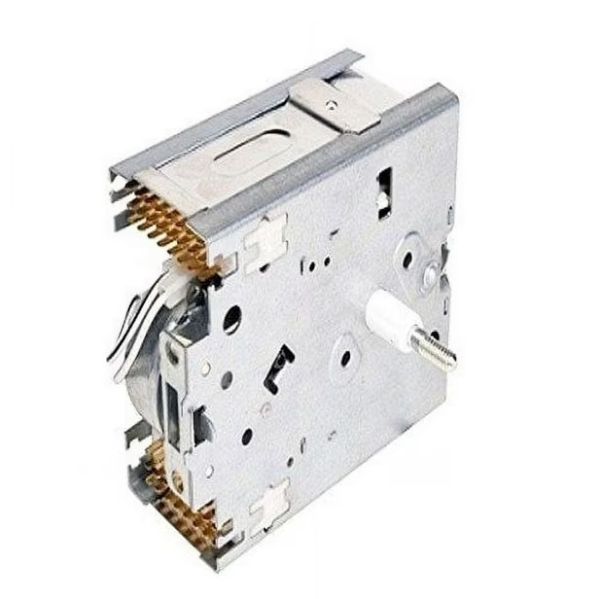
Whirlpool WP3946475 Washer Timer
Special Price
$167.02
Regular Price
$261.76
In stock
Available Quantity:
34
SKU
WP3946475
Product Description
The Whirlpool WP3946475 Timer controls is used for the operations of a washer and makes sure that each phase runs at the right time. The circuit board and transmits electrical signals to parts including the motor, water inlet valve, agitator, and drain pump. At the set time, it turns on and off in a proper sequence to enable washing, rinsing, and spinning. The water fills to the right level, splashes for the right amount of time, drains at the right time and spins at the end of the cycle as required.
Manufacturer

✓ This Product Replaces:
3946475, 3361642