The store will not work correctly in the case when cookies are disabled.
We collect user information to provide a better user experience and protect the security of our website. By continuing to use our website, you acknowledge the use of cookies.
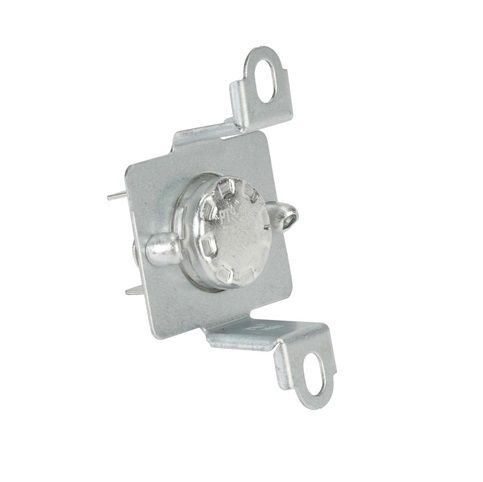
The Whirlpool WP35001193 Dryer Thermal Fuse serves as an important safety component for your clothes dryer. It operates as a silent oversight, preventing your devices from overheating. This fuse is used only once and encompasses a specific temperature-sensitive metal strip. When the dryer's internal temperature increases beyond a safe level, the metal strip melts, causing disruption of the electrical circuit and switching off the heating element. This minimises the risk of fire resulting from a malfunctioning dryer. The thermal fuse typically resides near the heating element or exhaust duct in the dryer. It is an essential element for ensuring secure and efficient drying processes. A blown thermal fuse is frequently the reason why a dryer stops heating. If you suspect an incorrect thermal fuse, unplug the dryer and restore it.
Step 1: The electrical supply to the dishwasher is to be disconnected. The dishwasher's power cord is to be detached from the wall outlet.
Step 2: The screws located on the interior of the dishwasher door that are securing the bracket are to be taken out. The bracket is to be carefully extracted, with attention being paid to its orientation for easy reinstallation.
Step 3: The new bracket's slots are to be positioned against the holes in the dishwasher door frame at the back. The bracket is to be fastened using the provided screws.
Step 4: The dishwasher’s power cord is to be reinserted into the wall outlet and the electrical supply is to be restored. The dishwasher is to be verified to operate correctly.
Step 5: After ensuring the bracket is firmly attached to the door and the dishwasher is working as intended, the panel and any screws needed to finalize the installation are to be reinstalled.
Please remember, these guidelines are to be utilized as general advice and should always be utilized alongside the manufacturer's manual, if one is available.