The store will not work correctly in the case when cookies are disabled.
We collect user information to provide a better user experience and protect the security of our website. By continuing to use our website, you acknowledge the use of cookies.
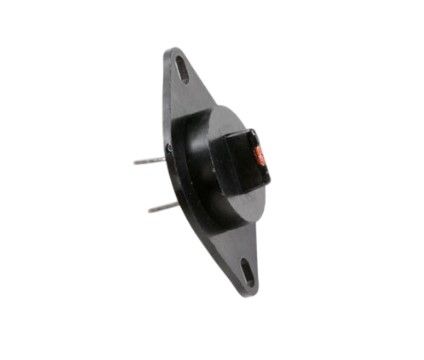
The Whirlpool WP35001191 Dryer Thermistor is a temperature-sensing element that measures the amount of heat inside and feeds back to the control system to regulate the temperature. It is installed in the airflow or drum housing, where it is connected to the control board through the wiring terminals, and it is aligned with the heat flow path to ensure it is detected properly, which is controlled by varying electrical resistance as the input. It assists in temperature checking, control of the system and coordination of heat so that the drying performance and the normal dryer operating cycles are maintained.
Step 1: Your Whirlpool dryer should be disconnected from the wall outlet prior to initiating the DIY repair task.
Step 2: The thermistor on your dryer should be identified. It is generally found towards the rear of the dryer, positioned behind the drum or occasionally beneath the access panel.
Step 3: The thermistor should be carefully extracted, ensuring that no surrounding wires are harmed.
Step 4: The wires should be detached from the old thermistor and it should be unscrewed from the mounting bracket.
Step 5: A replacement thermistor that corresponds with your specific Whirlpool dryer model (Part No WP35001191) should be acquired.
Step 6: The wires should be attached to the new thermistor and it should be secured to the mounting bracket.
Step 7: The screws should be fastened to hold the thermistor in place.
Step 8: All connections and screws should be verified to confirm everything is installed accurately.
Step 9: The dryer should be reconnected to the wall outlet and power should be restored.
Step 10: The dryer should be operated to verify that it is functioning correctly and that the new thermistor operates as intended.
Please be aware, these instructions serve as general guidance and should always be referenced alongside the manufacturer's manual, if accessible.