Whirlpool WP35-2044 Washer Lid Hinge

$8.14
In stock
Available Quantity:   144
SKU
WP35-2044

Product Description

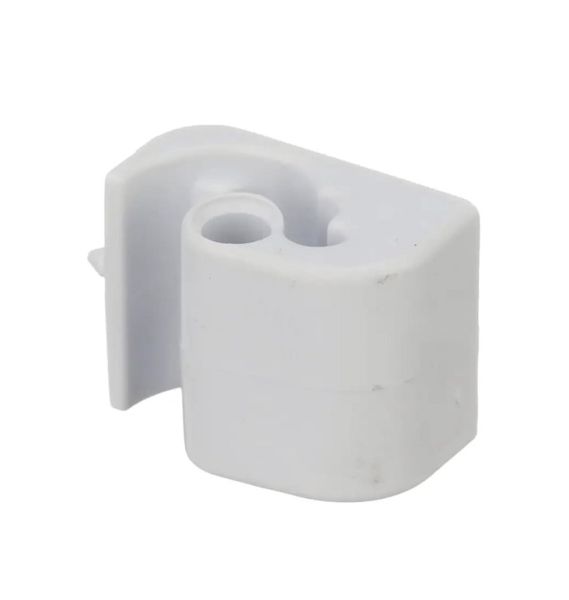
The Whirlpool WP35-2044 Washer Lid Hinge is an essential component that ensures smooth operation and longevity in washing machines. This hinge makes it easier to open and close the washer lid, allowing you to easily access the machine's inside when loading and unloading your laundry. Crafted with precision and high-quality materials, this hinge ensures long-term function. Its strong design improves the lid's overall stability, reducing the risk of accidents or damage. It installs easily and smoothly into compatible Whirlpool washing machines, restoring functionality and convenience. It improves user safety by firmly retaining the lid in place and preventing disturbances throughout the washing cycle. Whether for personal or business usage, the Whirlpool WP35-2044 Washer Lid Hinge provides hassle-free laundry experiences while encouraging efficiency.

Manufacturer
✓ This Product Replaces: 35-2044
https://www.hnkparts.com/media/catalog/product/w/p/wp35-2044-38947.jpg

This Part Fits the Following Models (556)

Maytag PAV5158AWW Washer Maytag PAVS234AWW Washer Maytag PAVT134AWW Washer Maytag PAVS244AWW Washer Maytag PAVT920AWW Washer Maytag PAVT144AWW Washer Maytag PAVT234AWW Washer Maytag PAVT244AWW Washer Maytag PAVT344AWW Washer Maytag PAVT915AWW Washer Maytag PAVT910AWW Washer Maytag PAVT454EWW Washer Maytag PAVT444AWW Washer Maytag LATH100AKV Washer Maytag LATH300AKV Washer
Showing 1-15 of 556
Manufacturer Name: WHIRLPOOL
Product Number: WP35-2044
OEM Part Number: WP35-2044
Product Description: Hinge-Lid

Choose the best Home Appliance parts and supplies from HnKParts!

  • Same Day Shipping

  • Best Quality And Best Price

  • Wide Range of Inventory

  • Best Customer Service

Have More Questions or Need Help to Place The Order?
Reach us at (866)723-0907 or [email protected]

Write Your Own Review
You're reviewing:Whirlpool WP35-2044 Washer Lid Hinge
Your Rating
Customer Questions
No Questions

Installation Steps

Step 1: The dryer should be disconnected from the power source and then shifted away from the wall.

Step 2: The front panel of the dryer should be detached, revealing the internal components.

Step 3: A Phillips head screwdriver should be utilized to take out the screws fastening the lid hinge to the dryer structure.

Step 4: The old hinge should be taken out and set aside.

Step 5: The new hinge should be positioned over the opening in the dryer where the previous hinge was situated.

Step 6: The new hinge should be fastened in place using the Phillips head screwdriver.

Step 7: The front panel should be reattached.

Step 8: The dryer should be shifted back into its original place and reconnected to the power supply.

Step 9: The door should be opened and closed multiple times to verify that the newly installed hinge operates correctly.

Step 10: It should be confirmed that all screws are securely tightened to ensure a safe and stable installation.

It is important to note that these instructions are intended for general assistance and should always be referenced alongside the manufacturer's manual, if available.