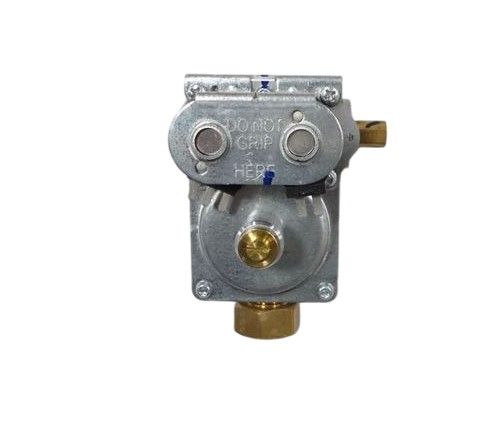
The Whirlpool WP308345 Dryer Gas Valve Assembly is an essential component that regulates the flow of gas into your clothes dryer. It functions similarly to an internal coil solenoid valve, opening and closing in response to electrical impulses from the dryer's control board. When the dryer requires heat, the control board activates the coils, which then opens the valve, allowing gas to flow to the burner. Once the desired temperature is reached, the control board de-energizes the coils and turns off the gas supply. This exact control guarantees a safe and effective drying of your items.This gas valve part is made especially WP308345 for Whirlpool dryers, while it might work with some Maytag models as well. A defective gas valve can cause a range of issues.
Step 1: The stove should be unplugged from the power source. It should ensure that all gas lines are completely turned off prior to starting.
Step 2: The four screws located at the rear of the stove that secure the back panel should be taken out. The back panel should be gently detached and placed aside.
Step 3: The existing gas valve should be identified and the wires connected to it should be detached.
Step 4: With your socket wrench, the retaining nut that secures the valve should be loosened.
Step 5: The old gas valve should be extracted and discarded.
Step 6: The new WP308345 VALVE-GAS should be positioned in the spot where the old valve was situated. It should be tightened using the socket wrench.
Step 7: The wires should be reattached to the newly installed valve.
Step 8: The back panel should be reinstalled and secured with the four screws.
Step 9: The gas supply lines should be turned on and power to the stove should be restored.
Step 10: The operation of the stove should be verified to ensure that the new gas valve functions correctly.
Please be aware that these guidelines serve as general advice and should always be utilized alongside the manufacturer's manual, if one is accessible.