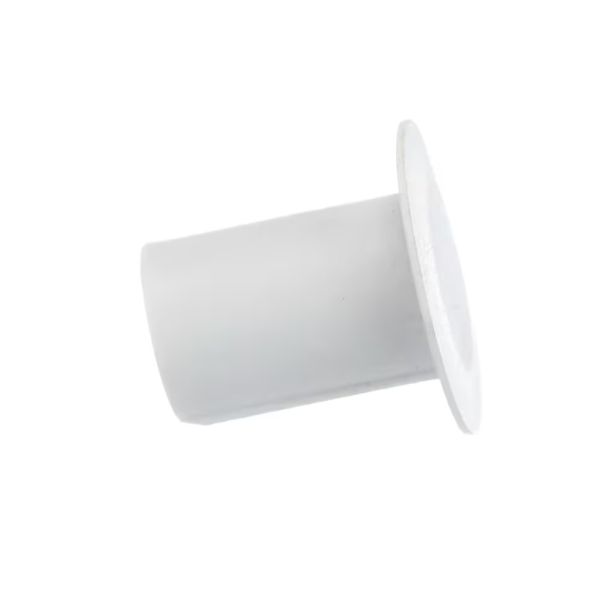
Whirlpool WP2212648 Refrigerator Hinge Sleeve Hole Plug
$5.32
In stock
Available Quantity:
16
SKU
WP2212648
Product Description
BUTTON-PLG
Manufacturer

✓ This Product Replaces:
844478, 651105, 2212648, 989893