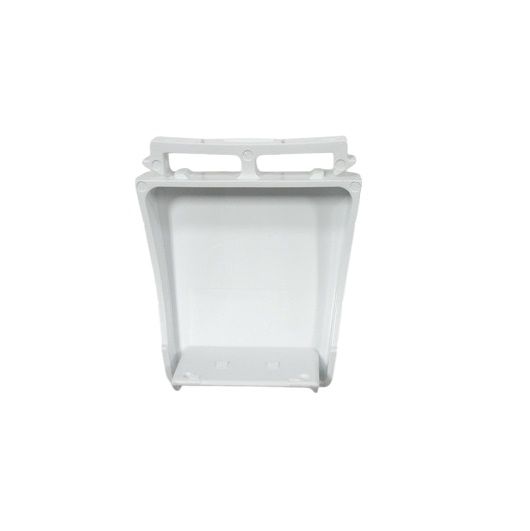
Whirlpool WP2196100 Refrigerator Door Shelf Endcap
$5.32
In stock
Available Quantity:
68
SKU
WP2196100
Product Description
The Whirlpool WP2196100 Refrigerator Door Shelf End Cap is a small but important component that organizes your refrigerator shelves and prevents spills. Usually constructed of sturdy plastic, it just clicks into the specified end of the door shelf. By doing this, a sturdy barrier is created that prevents objects from rolling or falling off the shelf when the refrigerator door is opened or closed, particularly jars and containers. The end cap keeps the interior of your refrigerator tidy and clutter-free by holding your belongings in place. Additionally, it reduces the possibility of messes spilling and broken containers, which will save you time while cleaning and stop food from spoiling.
Manufacturer

✓ This Product Replaces:
2196100, 1110719, 1124441, 2148029