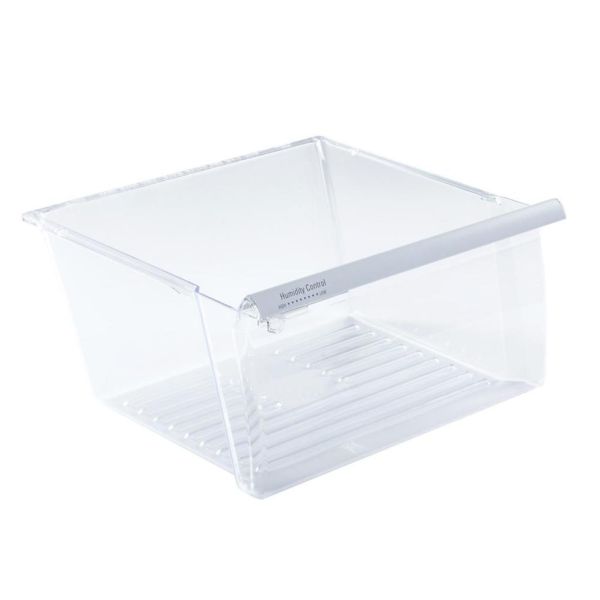
This Part Fits the Following Models (691)
Whirlpool Refrigerator Crisper Pan WP2188656
The Whirlpool Refrigerator Crisper Pan WP2188656 is a vital component designed to keep your fruits and vegetables fresh and organized. This crisper pan, which fits well with a variety of Whirlpool refrigerator models and is built to last, gives you a dependable way to store your vegetables. To ensure enduring performance, this crisper pan is built from premium, long-lasting materials. It is made to endure daily hardships and guarantee that your fruits and vegetables are kept in a secure and safe environment. You can see what's within the pan thanks to its transparent design, which makes it handy to keep an eye on the freshness of your fruit. This crisper pan, which measures roughly 12.5 by 15 inches, provides lots of room for storing fruits and veggies, keeping your refrigerator neat and uncluttered.
Key Features for Whirlpool Refrigerator Crisper Pan WP2188656:
-
Compatible with various Whirlpool refrigerator models
-
Clear design for easy visibility of produce
-
Adjustable humidity control for optimal freshness
Installation Steps
Step 2: The appliance should be accessed and the existing pan crisper should be identified. It ought to be firmly secured with screws or mounting clips.
Step 3: With the correct screwdriver, the mounting clips should be detached or the screws should be taken out to liberate the old pan crisper.
Step 4: The old pan crisper should be gently extracted from the appliance and the new WP2188656 Whirlpool Pan Crisper, Clear should be inserted in its place.
Step 5: The new pan crisper should be firmly attached using either screws or mounting clips, based on your specific model.
Step 6: The appliance should be reclosed and it should be reconnected to the electrical outlet.
Step 7: The appliance should be activated and it should be verified that the new pan crisper is working correctly.
By following these instructions, the DIY replacement of your WP2188656 Whirlpool Pan Crisper, Clear will be successfully navigated. With the proper tools and attention, this replacement can be completed swiftly.
Please remember, these guidelines are intended for general assistance and should always be utilized alongside the manufacturer's manual, if one is available.
