General Electric WJ26X27695 Air Conditioner User Interface Board Kit
$61.17
In stock
Available Quantity:
34
SKU
WJ26X27695
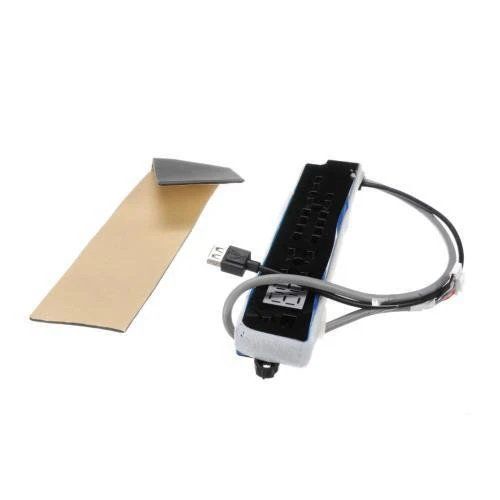
Product Description
The General Electric WJ26X27695 Air Conditioner User Interface Board Kit controls the temperature and other features such as fan speeds and modes. This board receives signals from the remote control or thermostat and converts them into instructions to the air conditioner's internal system. By replacing a faulty interface, it better performance, increases the reliability of the system, and allows users to have an easy, seamless control over the system to achieve maximum comfort and productivity.
Manufacturer

✓ This Product Replaces:
WJ26X25906