
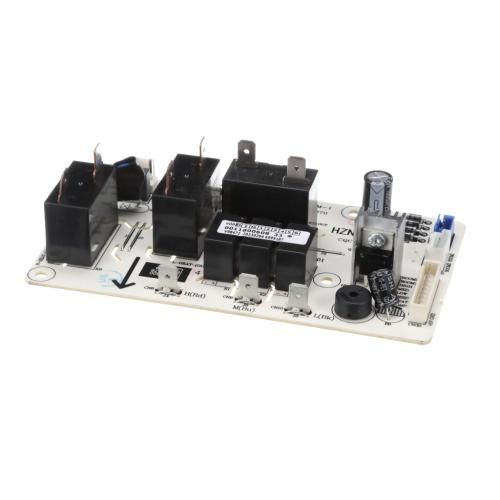
General Electric WJ26X26684 Air Conditioner Main Control Board

Special Price $65.41 Regular Price $86.76
In stock
Available Quantity:   16
SKU
WJ26X26684

Product Description

The General Electric WJ26X26684 Air Conditioner Main Control Board is an internal control board that is an electronic module that controls the main functions of the appliance. Its primary function is to process the inputs of the thermostat, sensors, and user functions to control the compressor, fans, and safety operations. Fitted by the board inside the regulated compartment of the unit, it is connected to power, communication wiring, and ancillary parts. In the system, it supports to coordinate the work of the main subsystems, to maintain a steady temperature level and to provide stable functioning in the course of application.
Other Categories, HVAC Parts, Control Boards|Panels
0"X0"X0"
Manufacturer
https://www.hnkparts.com/media/catalog/product/w/j/wj26x26684-general-electric-hnkparts-1.jpg

This Part Fits the Following Models (2)

Write Your Own Review
You're reviewing:General Electric WJ26X26684 Air Conditioner Main Control Board
Your Rating
Customer Questions
What maintenance is required for the General Electric WJ26X26684 Main Control Board?

Ensure the control board area remains dry and free from dust or debris buildup. Check wiring connections for secure fitting and signs of wear. Proper maintenance supports prevent electrical faults and ensures accurate operation. Always disconnect power before inspecting or handling the board.

What are common issues with the General Electric WJ26X26684 Main Control Board?

  • Failure to power on the unit.
  • Intermittent or unresponsive controls.
  • Error codes displayed on the system.
  • Malfunctioning connected components.
  • Burnt or damaged circuit board sections.

Installation Steps

Step1: Disconnect power at breaker and unplug appliance ensure breaker is off and verify no voltage.

Step2: Remove rear panel or access cover using proper tool keep screws organized for reassembly.

Step3: Label and disconnect wiring harnesses from old control board carefully to avoid damage.

Step4: Install new board, secure screws, reconnect harnesses firmly matching labels.

Step5: Reassemble panel, restore power, run test cycle for safety and proper operation.
