Step 1: The appliance is disconnected from the power source and it has cooled down sufficiently.
Step 2: The top panel is taken off using a Phillips head screwdriver. After the panel is removed, the lid switch found on the left side of the opening is disconnected.
Step 3: The machine is rotated to access the pulley wheel.
Step 4: The pliers are employed to loosen the bolt securing the pulley wheel. Then, the pulley is slid off the spindle.
Step 5: The old spring idler is gently taken out and it is disposed of.
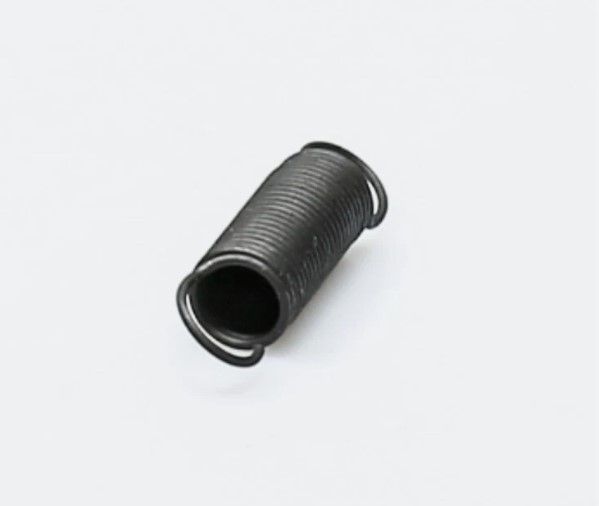
Step 6: The new Whirlpool WP56076 spring idler is inserted in position and it is fastened with the bolt.
Step 7: The lid switch is reconnected and the top panel is replaced. It is fastened with the screws.
Step 8: The appliance is reconnected to the power source, and you’re set to continue washing.
Be aware that these guidelines are intended for general reference and should consistently be used alongside the manufacturer’s manual, if available.