
This Part Fits the Following Models (14)
Product Overview:
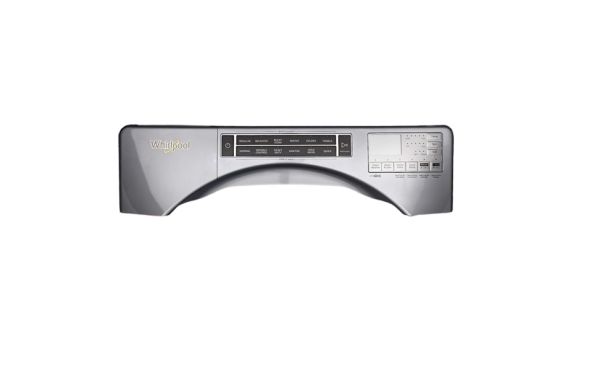
Provides the washer's designated control interface, the Whirlpool W11327395 Washer Control Panel is an OEM component used on applicable Whirlpool washers. The panel forms part of the washer's external control arrangement and brings the designated control features together within one panel.
Control Panel Layout:
The control panel provides the designated interface for the washer's control functions. Its panel format brings the applicable control features together in one location and forms the visible control section of the washer. The layout keeps these controls organized within the designated panel area and provides the washer's front-facing control surface.
Washer Control Placement:
Positioned within the washer's designated control area, the panel forms the external interface between the user and the washer's controls. Its placement keeps the control features arranged within the washer's front control section for access during normal operation.
Replacement Guidelines:
Replacement may be appropriate when the existing control panel is damaged or no longer provides its intended control interface. The W11327395 provides the specified Whirlpool washer control panel when the original panel requires replacement.
Common Signs of Wear:
- Visible damage to the control panel.
- Cracks or physical damage affecting the panel surface.
- Damage affecting the washer's control area.
- Loose or damaged control-panel components.
- Physical deterioration affecting normal access to the controls.
Equipment Compatibility:
The Whirlpool W11327395 Washer Control Panel is an OEM component listed for applicable washer models including WFW862CHC2, WFW8620HC3, WFW8620HW2, WFW862CHC3, and WFW8620HC2. The specific washer model should be matched with the provided compatibility information before selecting the control panel.
Technical Specifications:
Brand: Whirlpool
Part Number: W11327395
Product Type: Control Panel
Appliance Type: Washer
Installation Steps
Step1: Disconnect the washer power supply and water connections for safety before starting.
Step2: Remove old control panel screws and carefully detach the front panel assembly.
Step3: Document wire harness positions before unplugging connectors to avoid errors.
Step4: Connect the new control panel harness firmly into the correct ports.
Step5: Secure the panel with screws and align it properly on the machine body.
Step6: Restore power supply, test, and ensure safe operations.
