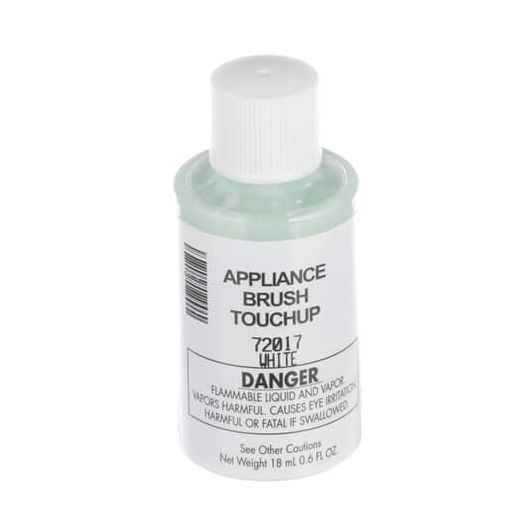
Whirlpool 72017 Refrigerator Acrylic Touch Up Paint 0.6 Oz White
$6.80
In stock
Available Quantity:
1012
SKU
72017
Product Description
The Whirlpool 72017 Refrigerator Acrylic Touch Up Paint is used to restore the spotless look of the appliance by fixing the scratches, chips, and other minor defects smoothly. This 0.6 oz white paint is easy to apply using its applicator and fits well on Whirlpool fridges giving a smooth, durable appearance.
Manufacturer

✓ This Product Replaces:
R0197004, 058028, 19950213, M13D24, R0197021, R0197029, R1970-4, 0P999005MW, 09100024, 10-10527, 1565200, 1565220, 96227P11, 98-1128-OZ, 98-1134-OZ