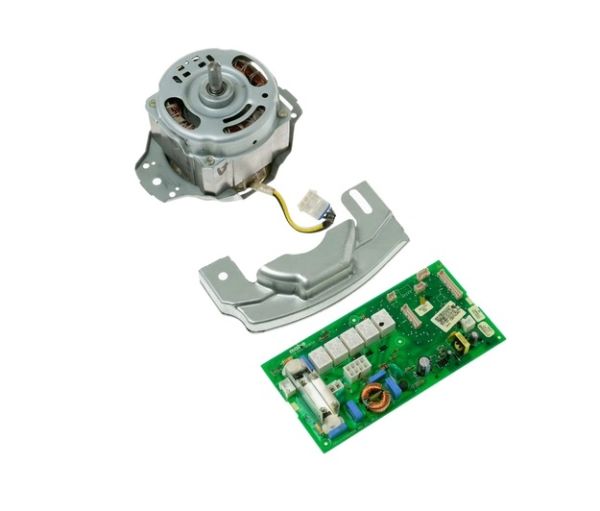
General Electric WH49X25738 Washer Main Control Board W/Tub Shield Motor Kit
Special Price
$361.83
Regular Price
$453.11
In stock
Available Quantity:
22
SKU
WH49X25738
Product Description
The General Electric WH49X25738 Washer Motor Kit & Shield Tub is intended to help bring back functionality to the washing machine by providing for proper rotation of the drum. This kit is made up of a high quality motor and a shield tub which is vital for the proper functioning of the machine. It drives the drum of the washer, allowing it to provide proper agitation and spin for the washing process.
Manufacturer

✓ This Product Replaces:
WH12X22743