The store will not work correctly in the case when cookies are disabled.
We collect user information to provide a better user experience and protect the security of our website. By continuing to use our website, you acknowledge the use of cookies.
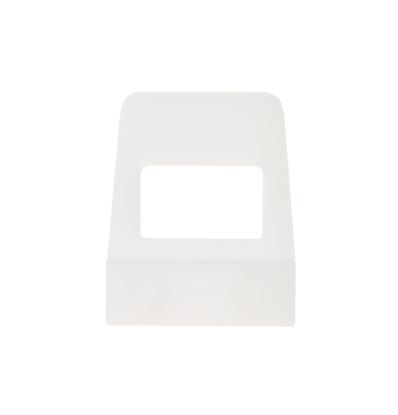
The General Electric WH43X10057 Washer Actuator Lid is used to connect with the appliance detect the position of the lid during operation. It is installed on the lid assembly, where it aligns with the corresponding switch or locking component when the lid is closed. During operation, it actuates the sensing mechanism, allowing the control system to verify that the lid is properly positioned before initiating or continuing wash. It operations as an interface component within the lid safety system, supporting proper cycle operation and ensuring the washer responds correctly to lid status conditions.
Step 1: The washing machine is disconnected from the electrical outlet.
Step 2: The upper panel of the washer is gently taken off by loosening the two screws found at the top edge of the back panel.
Step 3: The lower front panel of the washer is taken off to reveal the actuator lid.
Step 4: The wire harness is detached from the actuator lid.
Step 5: A flat head screwdriver is employed to take off the plastic cover from the actuator lid.
Step 6: The three screws that secure the actuator lid are unscrewed.
Step 7: The old actuator lid is gently extracted and the new one is positioned in its place.
Step 8: The new actuator lid is fastened using the three screws.
Step 9: The wire harness is reconnected to the actuator lid.
Step 10: The actuator lid is covered with the plastic cover.
Step 11: Both the lower and upper panels of the washer are reinstalled.
Step 12: The washer is reconnected to the electrical outlet.
Please remember that these instructions are served as general guidance and should always be followed alongside the manufacturer's manual, if it is available.