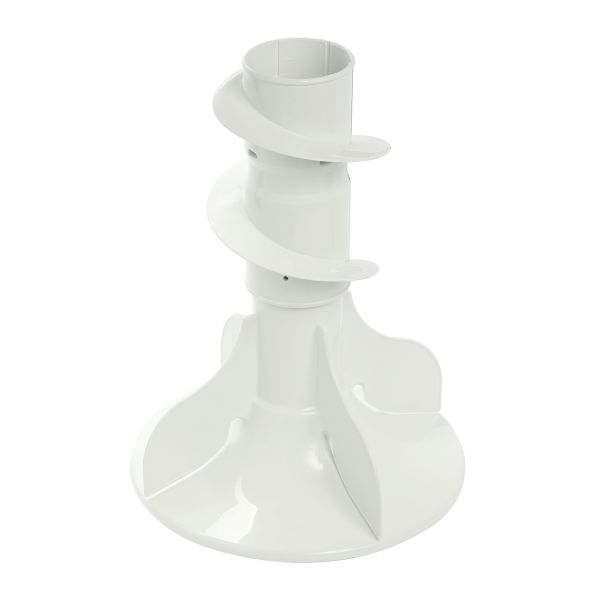
General Electric WH43X10034 Washer Agitator Assembly
Special Price
$48.33
Regular Price
$63.22
In stock
Available Quantity:
134
SKU
WH43X10034
Product Description
The General Electric WH43X10034 Agitator Assembly is designed to provide the best washing action to ensure that the clothes are thoroughly washed. This helps to improve wash quality by properly circulating clothes in water and detergent. It rotates back and forth to scrub and clean the clothes without entangling them and to remove dirt and stains effectively. Designed to be long-lasting and accurate, it brings back the optimal performance of the washer and its longevity.
Manufacturer

✓ This Product Replaces:
WH43X142, WH43X10008, WH43X0142, WH43X0138, WH43X25442