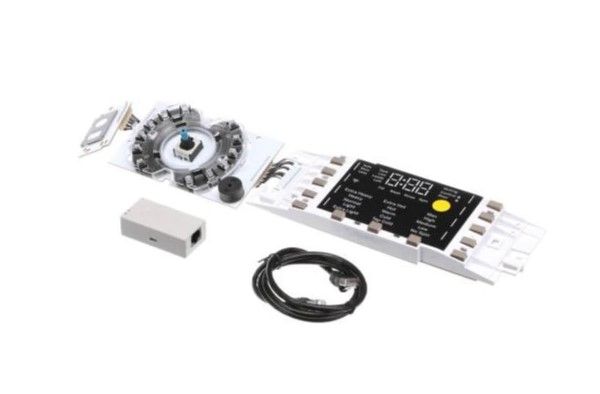
General Electric WH22X34919 Washer UI Board W/Sum & InstructionsFL 850
Special Price
$309.44
Regular Price
$387.57
In stock
Available Quantity:
160
SKU
WH22X34919
Product Description
The General Electric WH22X34919 Washer UI-Board W/Sum & Instructions FL 850 is a control panel through which users can choose the wash cycle, set the parameters and get information about the machine. It operates by receiving signals from the control panel and relaying them to the various parts of the washer to perform their functions effectively. The board has a summary bar and tutorial tabs that help the user to navigate through it easily.
Manufacturer

✓ This Product Replaces:
WH22X29549, WH22X31163, WH22X32062